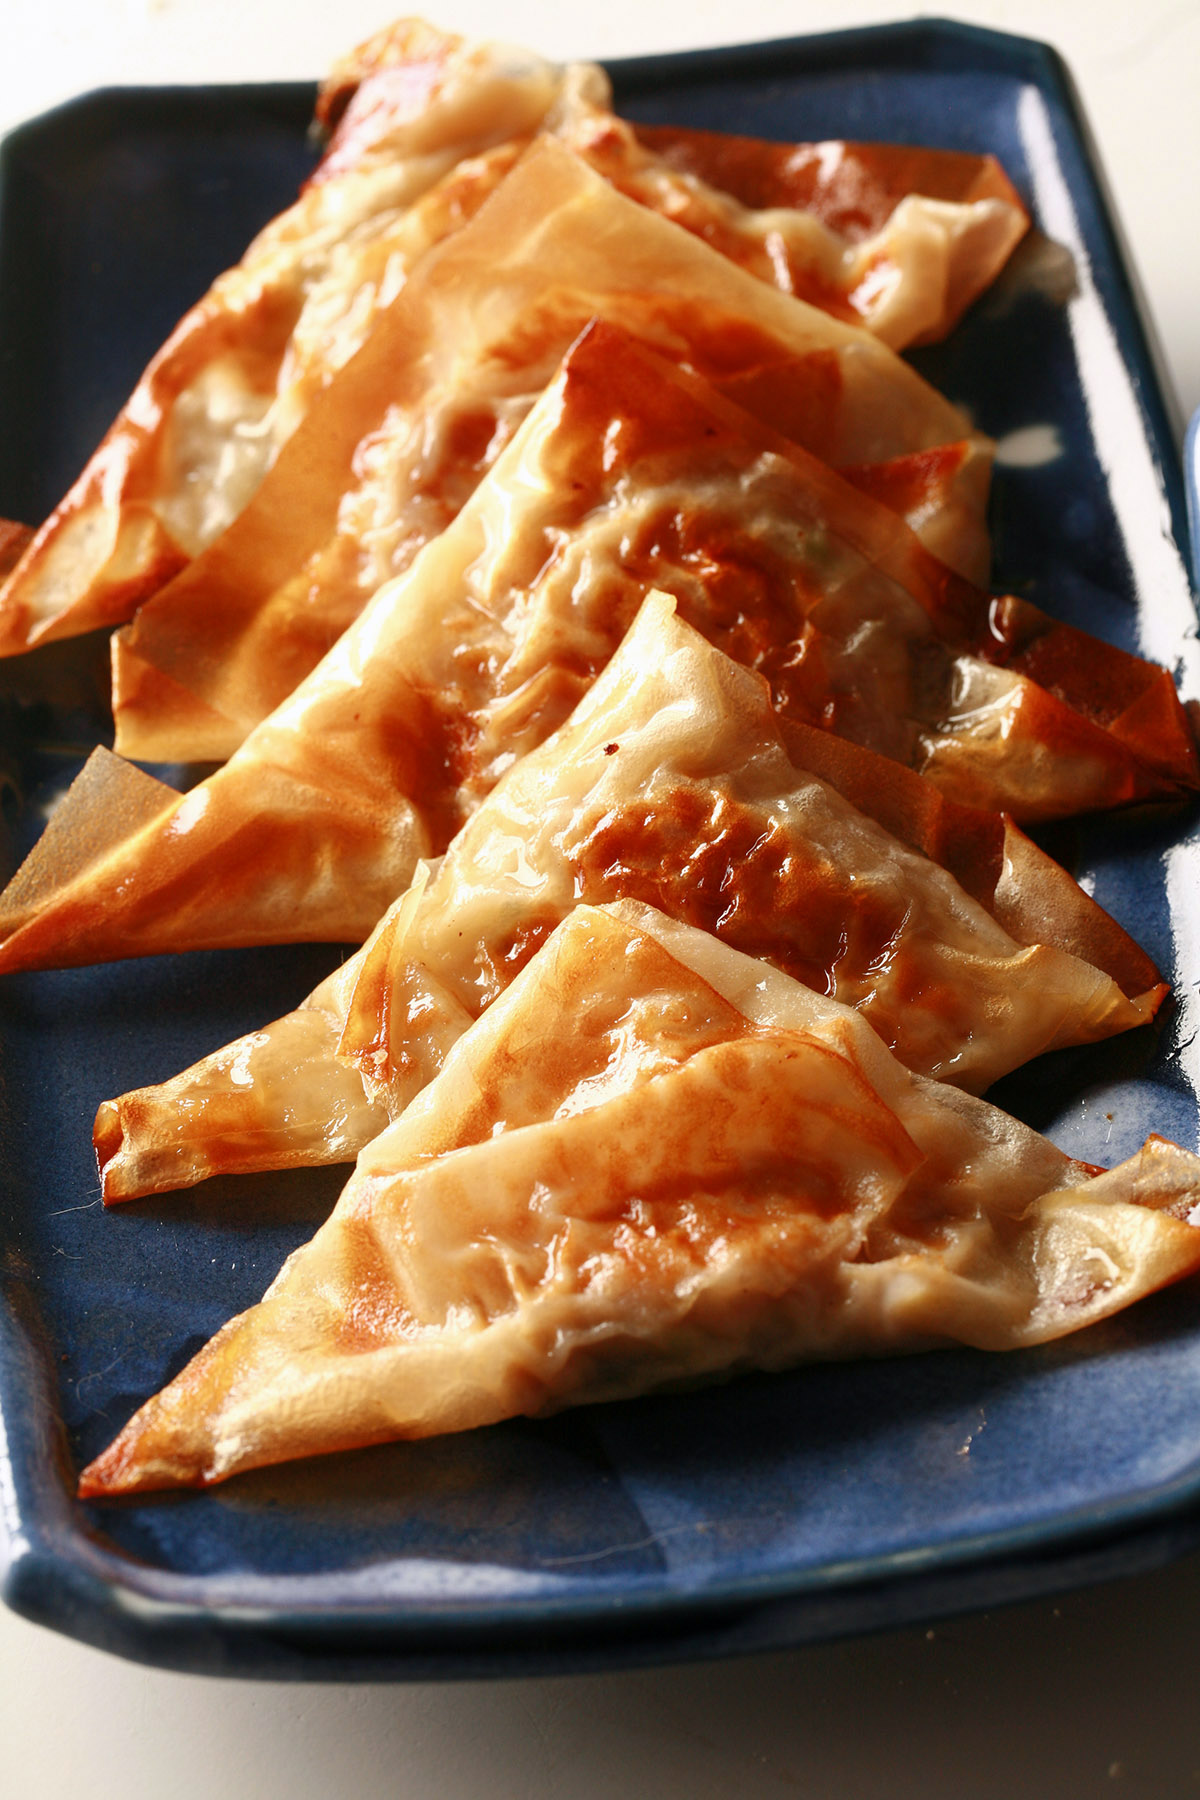
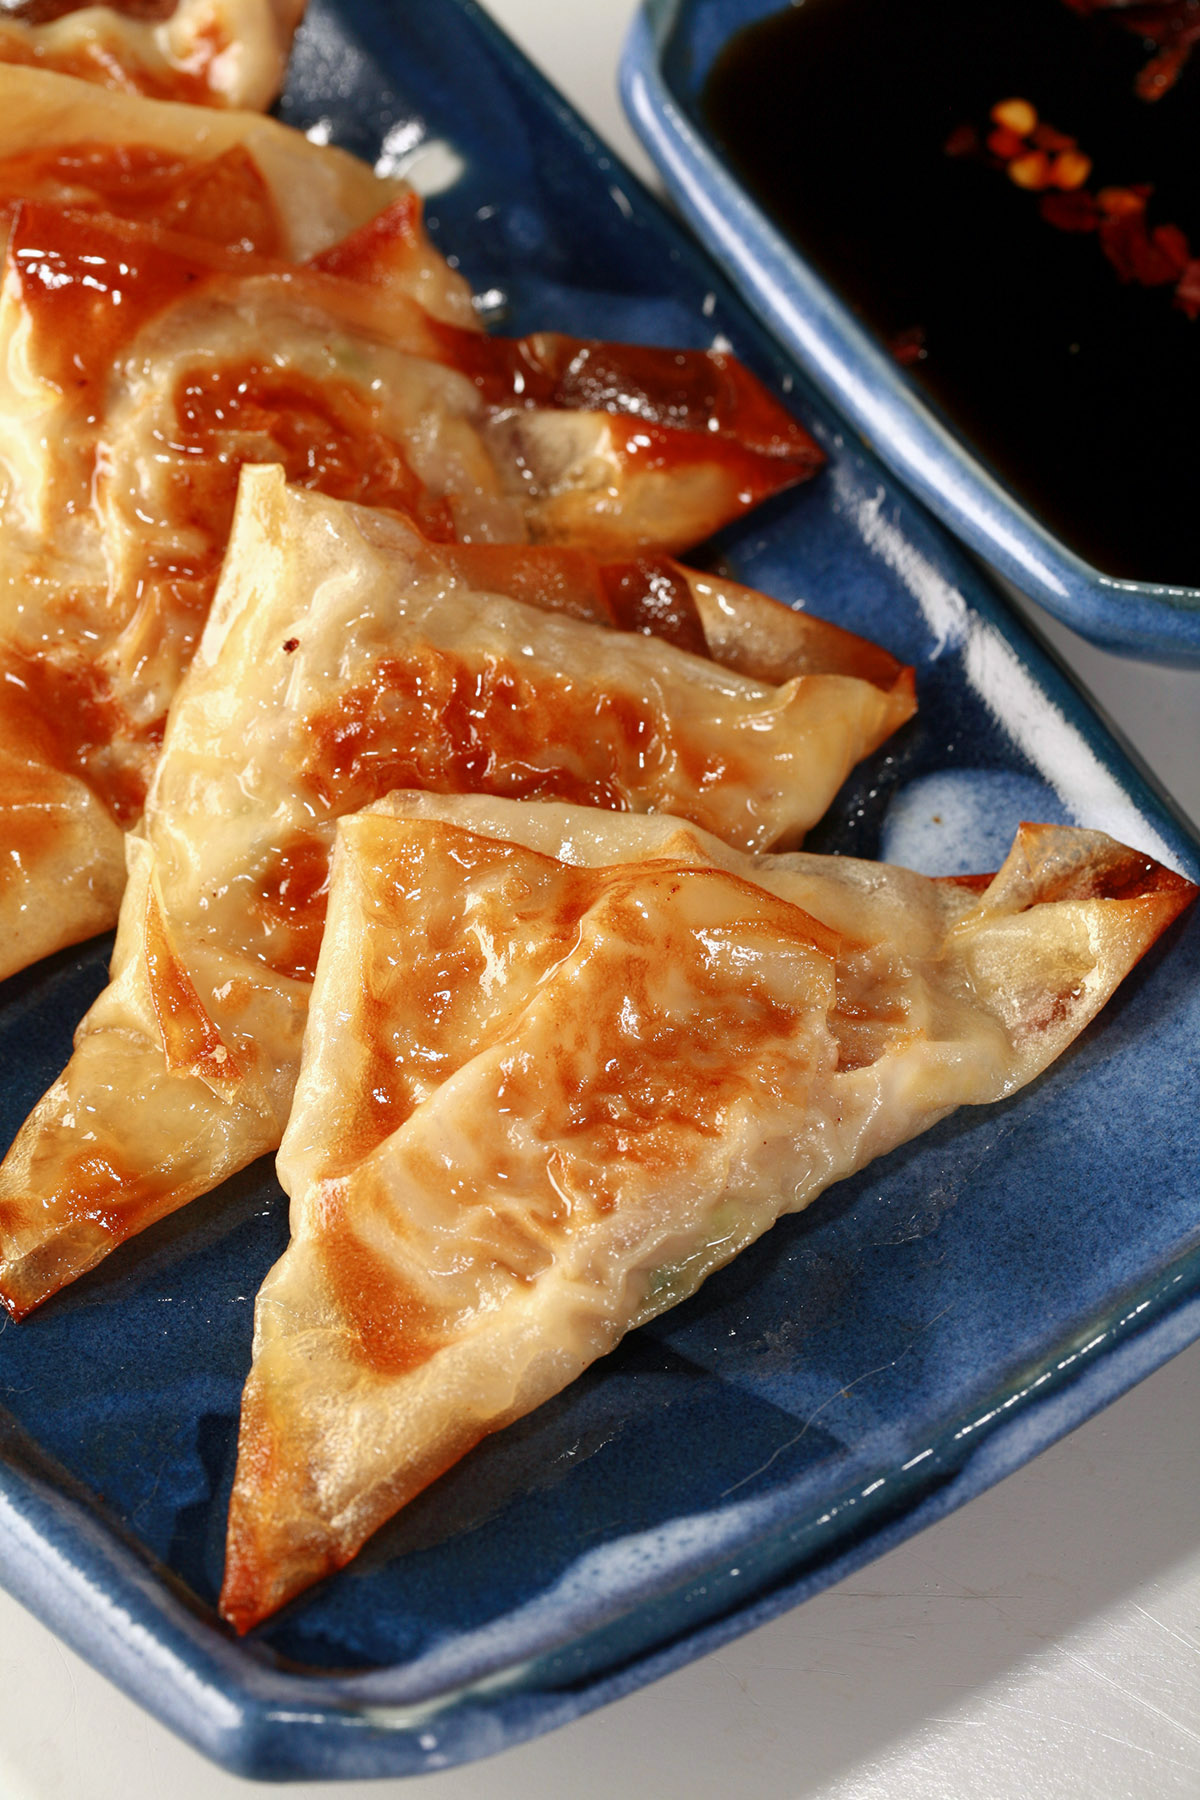
These easy-to-make keto gyoza may look a little different from the real thing, but they have all of the flavour - at a fraction of the carbs!
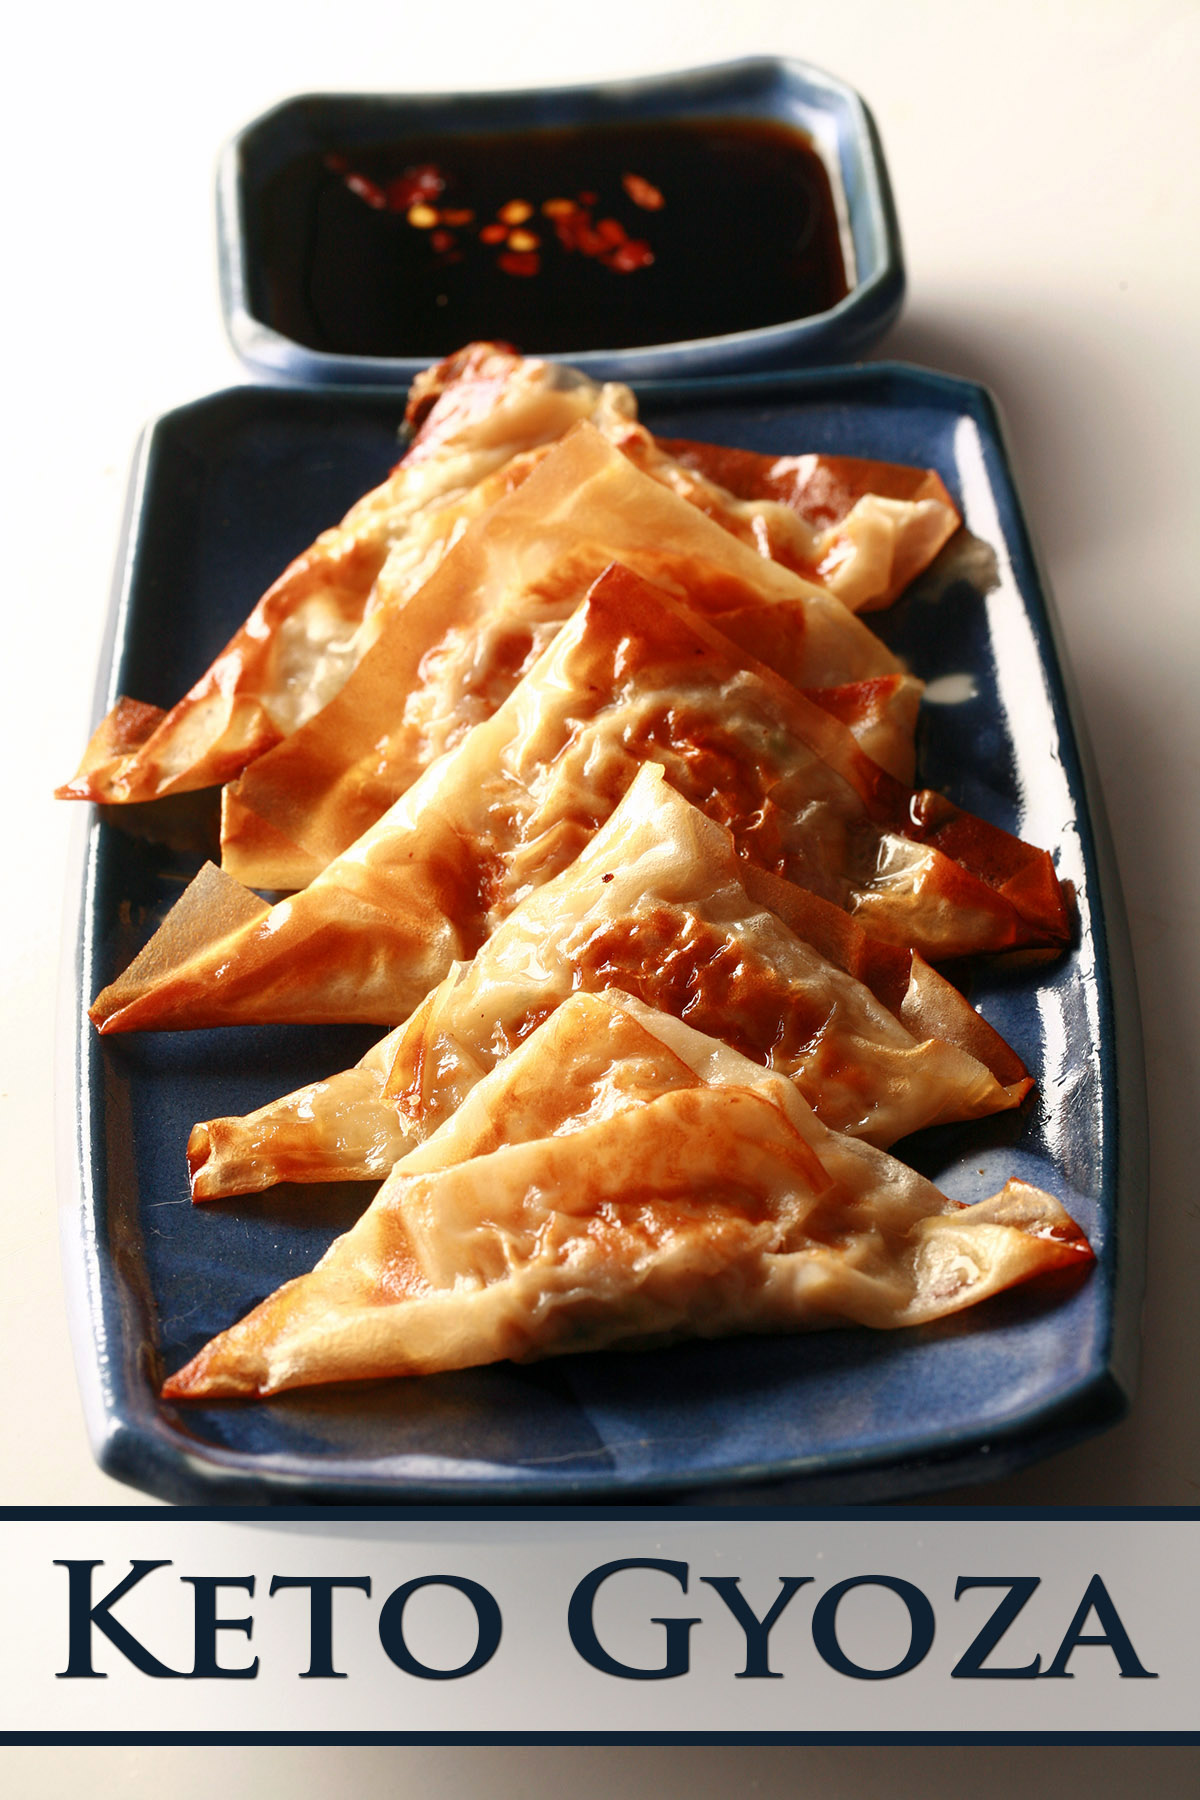
Knowing that this time on low carb is going to need to be a solid commitment for at least a year, I've really been focussed on coming up with homemade versions of all of my favourite foods.
You know, just with only a small fraction of the carbs of the original.
My original Gyoza recipe - which the filling for this one is loosely based on - works out to 4 net grams of carbs per gyoza.
They're also made with white flour, which is completely out of the question for me now.
These keto potstickers come out to less than a gram of net carbs per - it rounds up to about 3.5 grams per FIVE gyoza!!
This is a great thing! I don't know about you, but I certainly can't stick to just one or two of them in a serving.
Keto Gyoza
Getting to this point was a matter of experimentation.
The filling was easy enough to keto-up - I swapped the sugar out for a sugar substitute.
There wasn't much of it in the first place, and you really can't notice the difference after swapping it out.
No, the big ordeal came from trying to figure out the wrapper.
Normal gyoza wrappers are almost entirely made of wheat flour. Rice paper can be a decent gluten-free alternative, but it's ALSO high in carbs.
I was looking over some old photos of a sushi making party we'd hosted a few years ago, and it hit me: Soy wrappers. Those HAD to be lower in carbs, right?
YES! 1 gram of total carbs (and net carbs, no fiber to deduct) per sheet!
At first, I thought that I could get 4 gyoza per sheet, but that didn't work out. The soy paper is much thinner and more fragile than gyoza wrappers.
Not only did it tear when sealing up the dumplings, it basically disintegrated when I tried to steam them.
After a bunch of experimentation - which included an air fryer at one point - the solution ended up being twofold:
Wrapper Technique
First off, I needed to deal with the thickness issue. I'd briefly considered making a dough out of unflavoured protein powder, but nixed the idea. Part of the appeal of gyoza is that they're easy to throw together!
No, I wanted to make the soy wrappers work.
I considered bonding a couple sheets together, but that ended up being messy.
In the end, I decided to go back to a technique I used in my pre-low carb days, for my Spanakopita Triangles and Phyllo Crab Triangles.
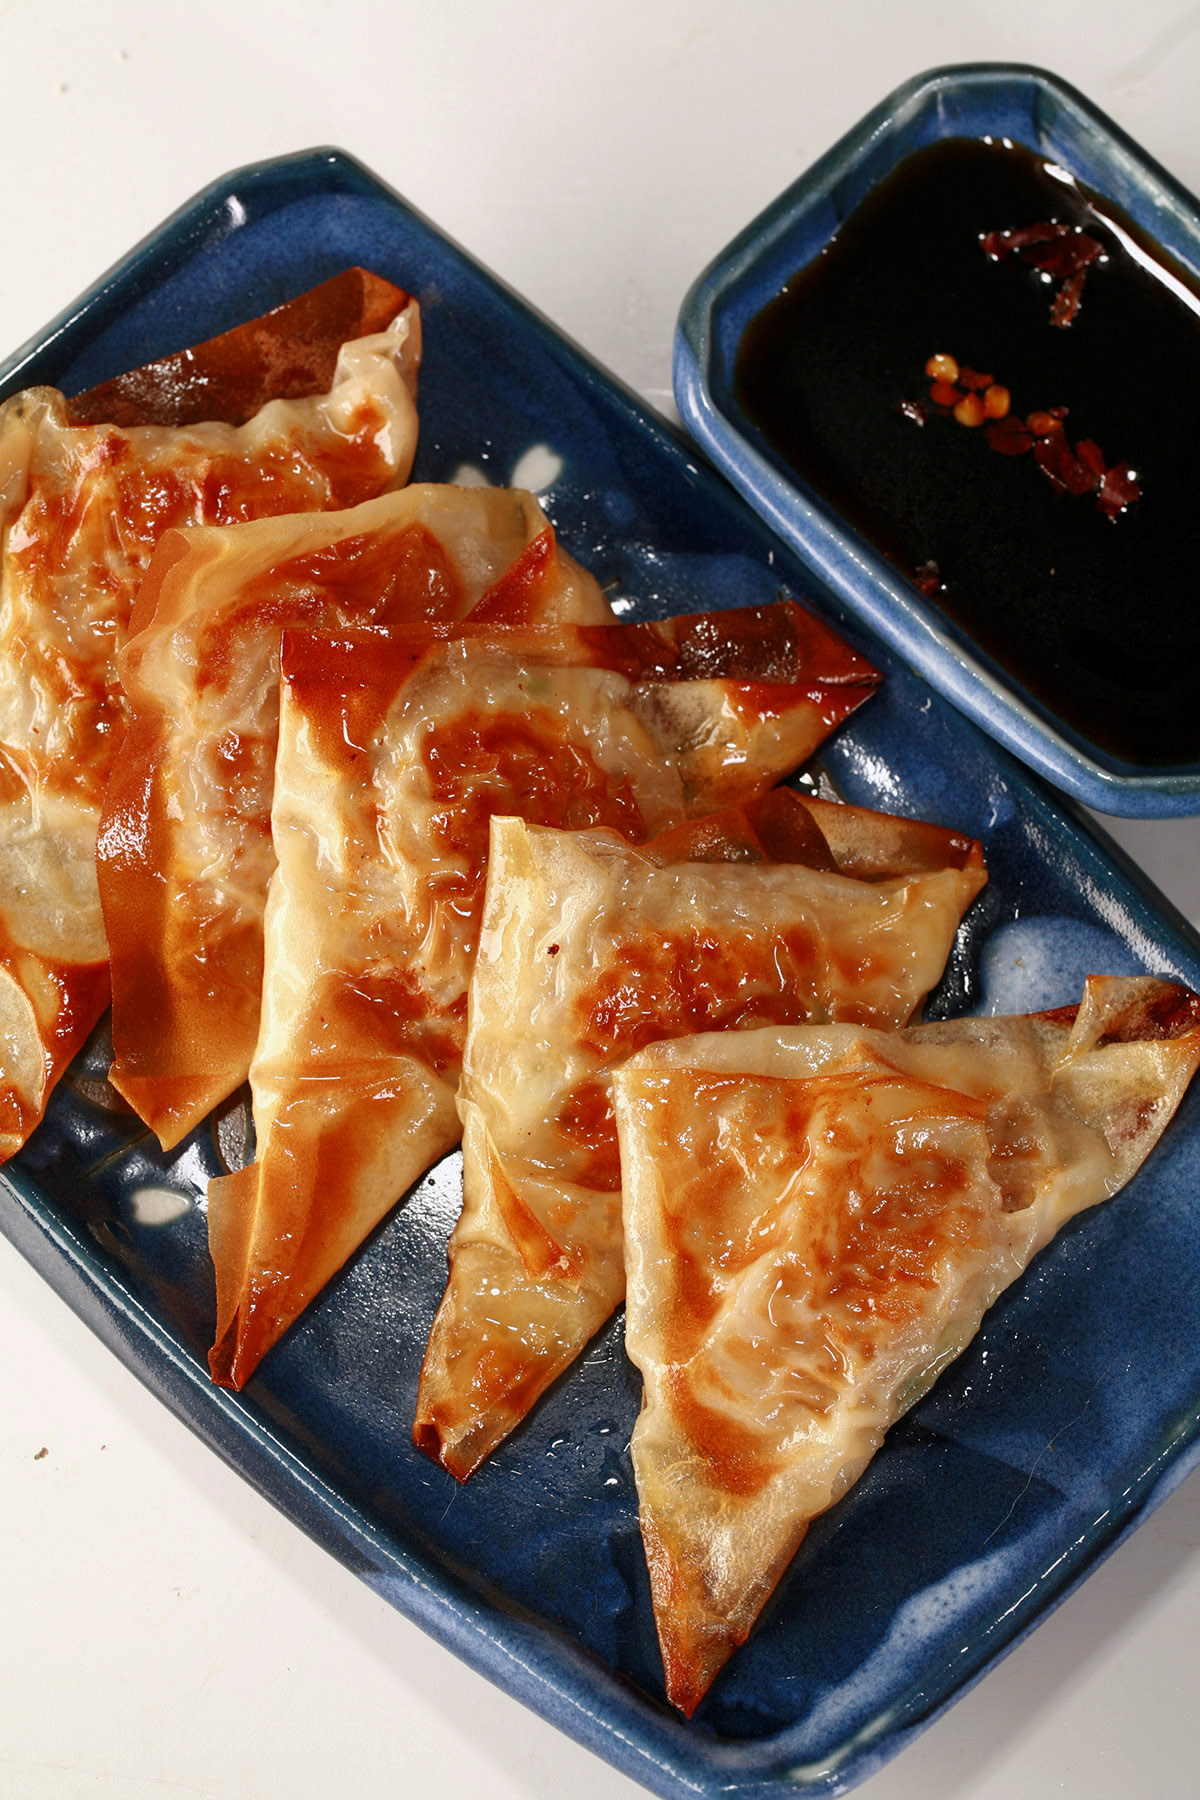
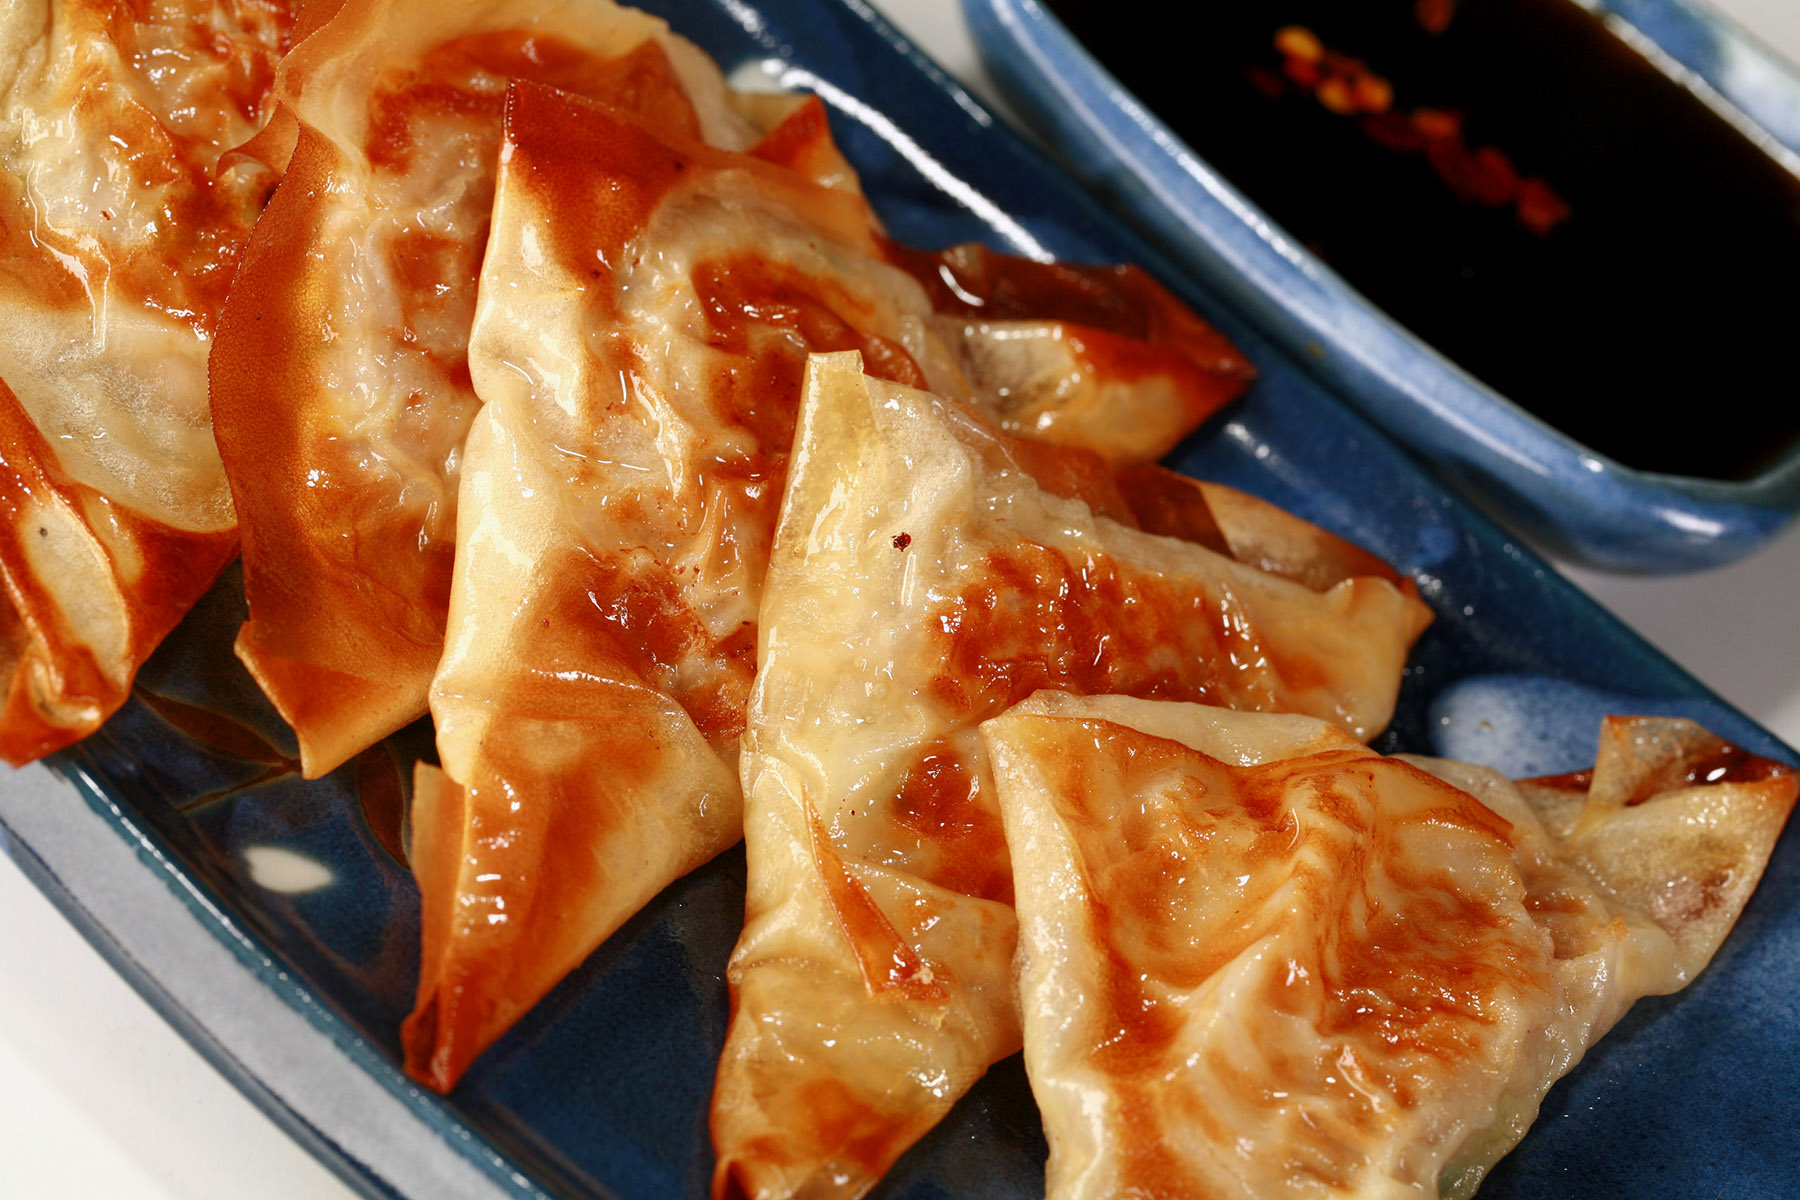
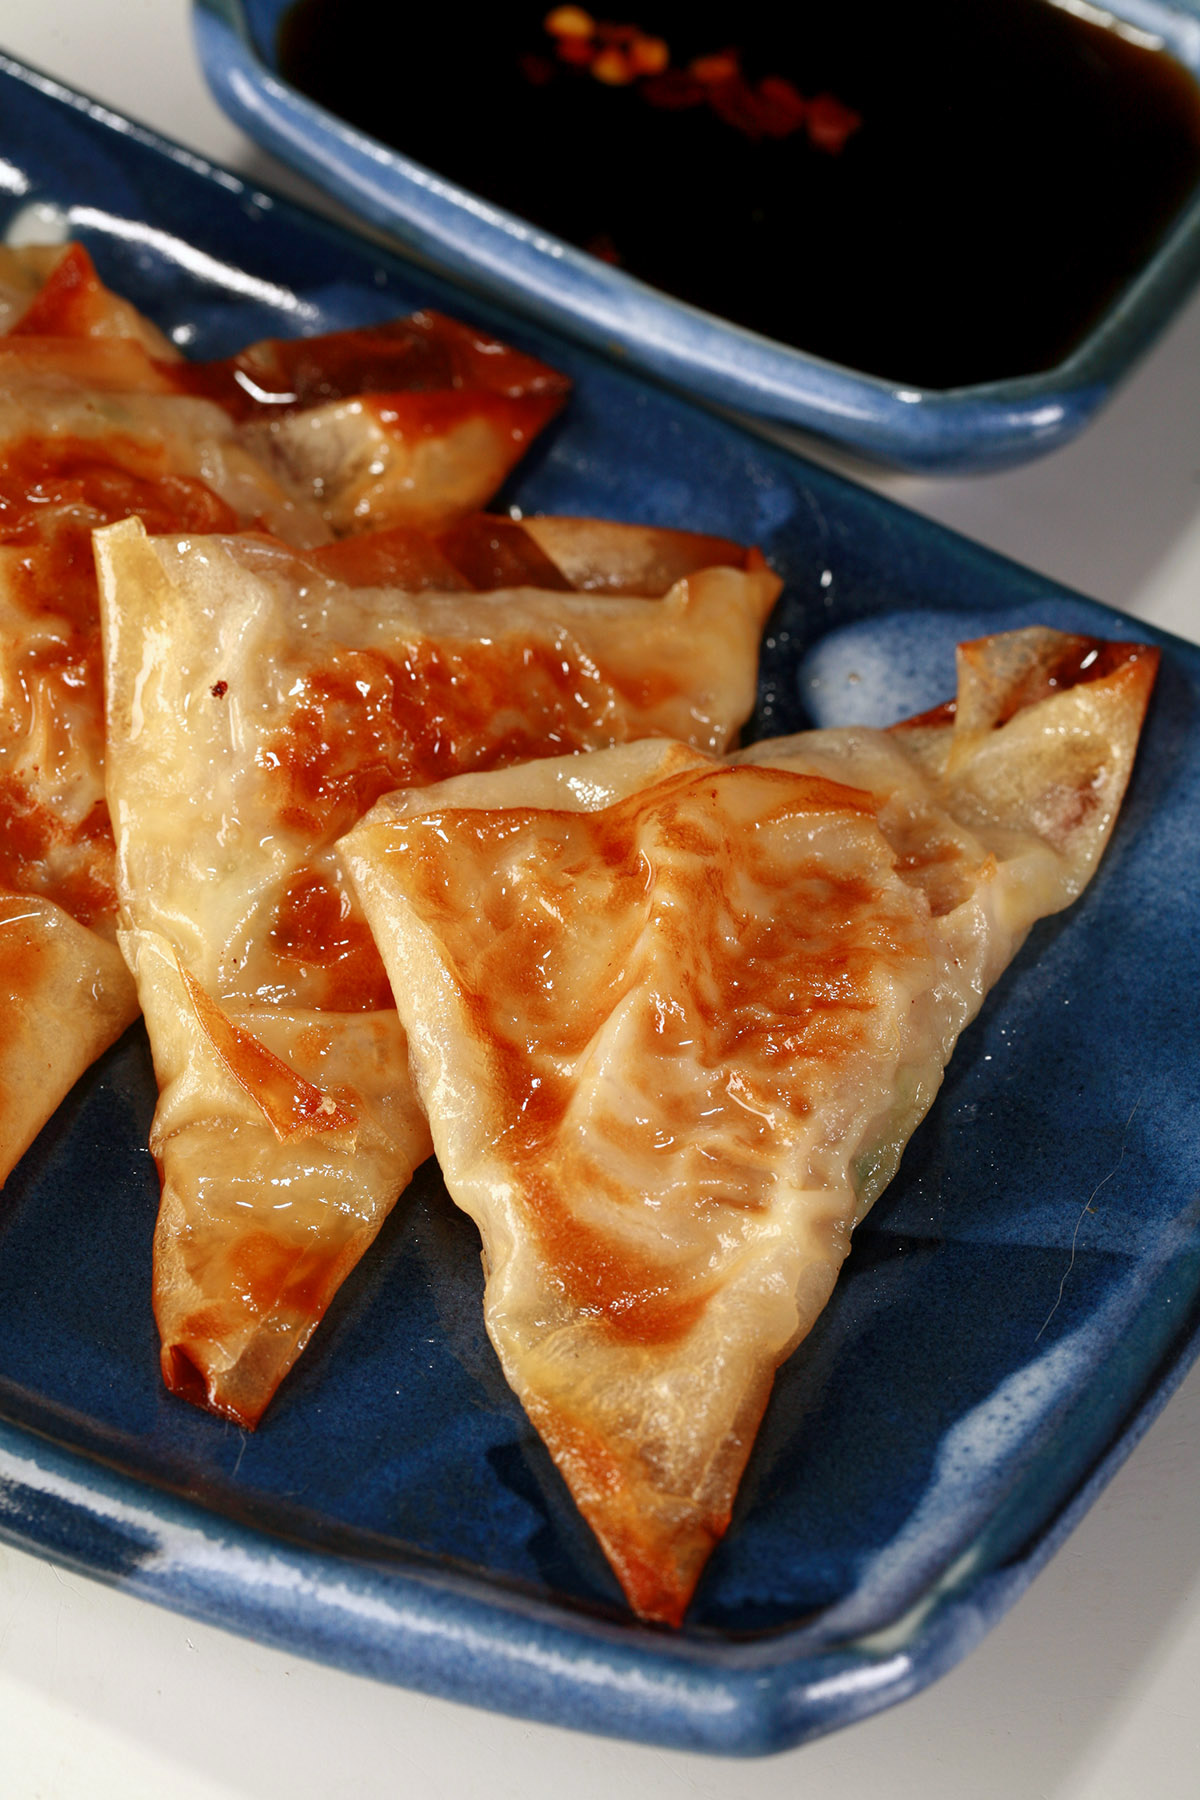
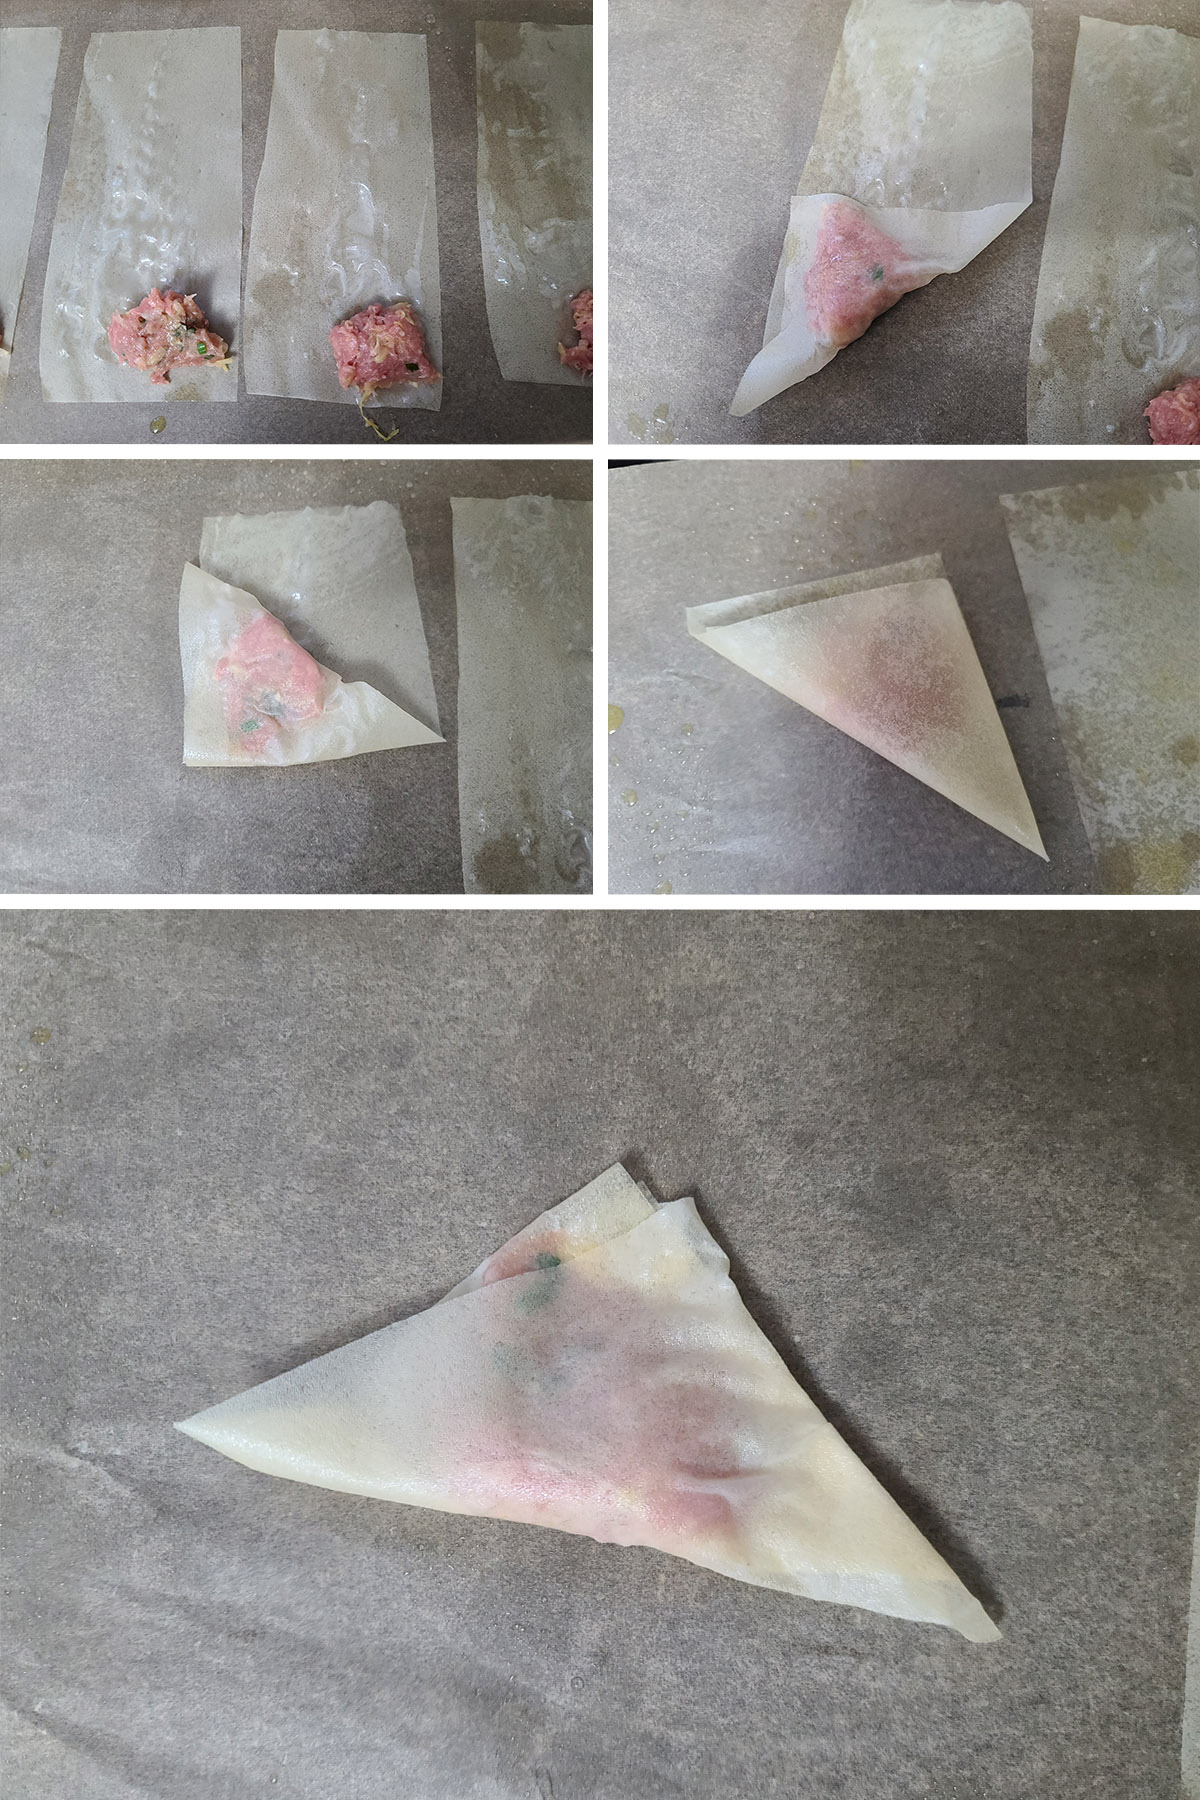
I split each sheet of soy wrapper into 2 strips, and wrapped them up, "flag style", just like those two earlier recipes. It worked perfectly!
I tried oil vs water for making them stick - water was the clear winner, whether brushed on with a pastry brush, or spritzed on from a water bottle.
Cooking Technique
That left the cooking technique to deal with.
Traditionally, you fry gyoza in a little bit of oil until crispy and browned, then add some water to the pan, cover it, and let it steam for a few minutes.
Unfortunately - even with the layers - the soy did not hold up to this method.
All was going well up until the point of steaming, though - they browned up nicely, everything held together.
SO that's what I ended up going with - just the pan frying, no steam.
Because it's not a raw flour dough - soy wrappers are ready to eat - it doesn't NEED the steaming, though.
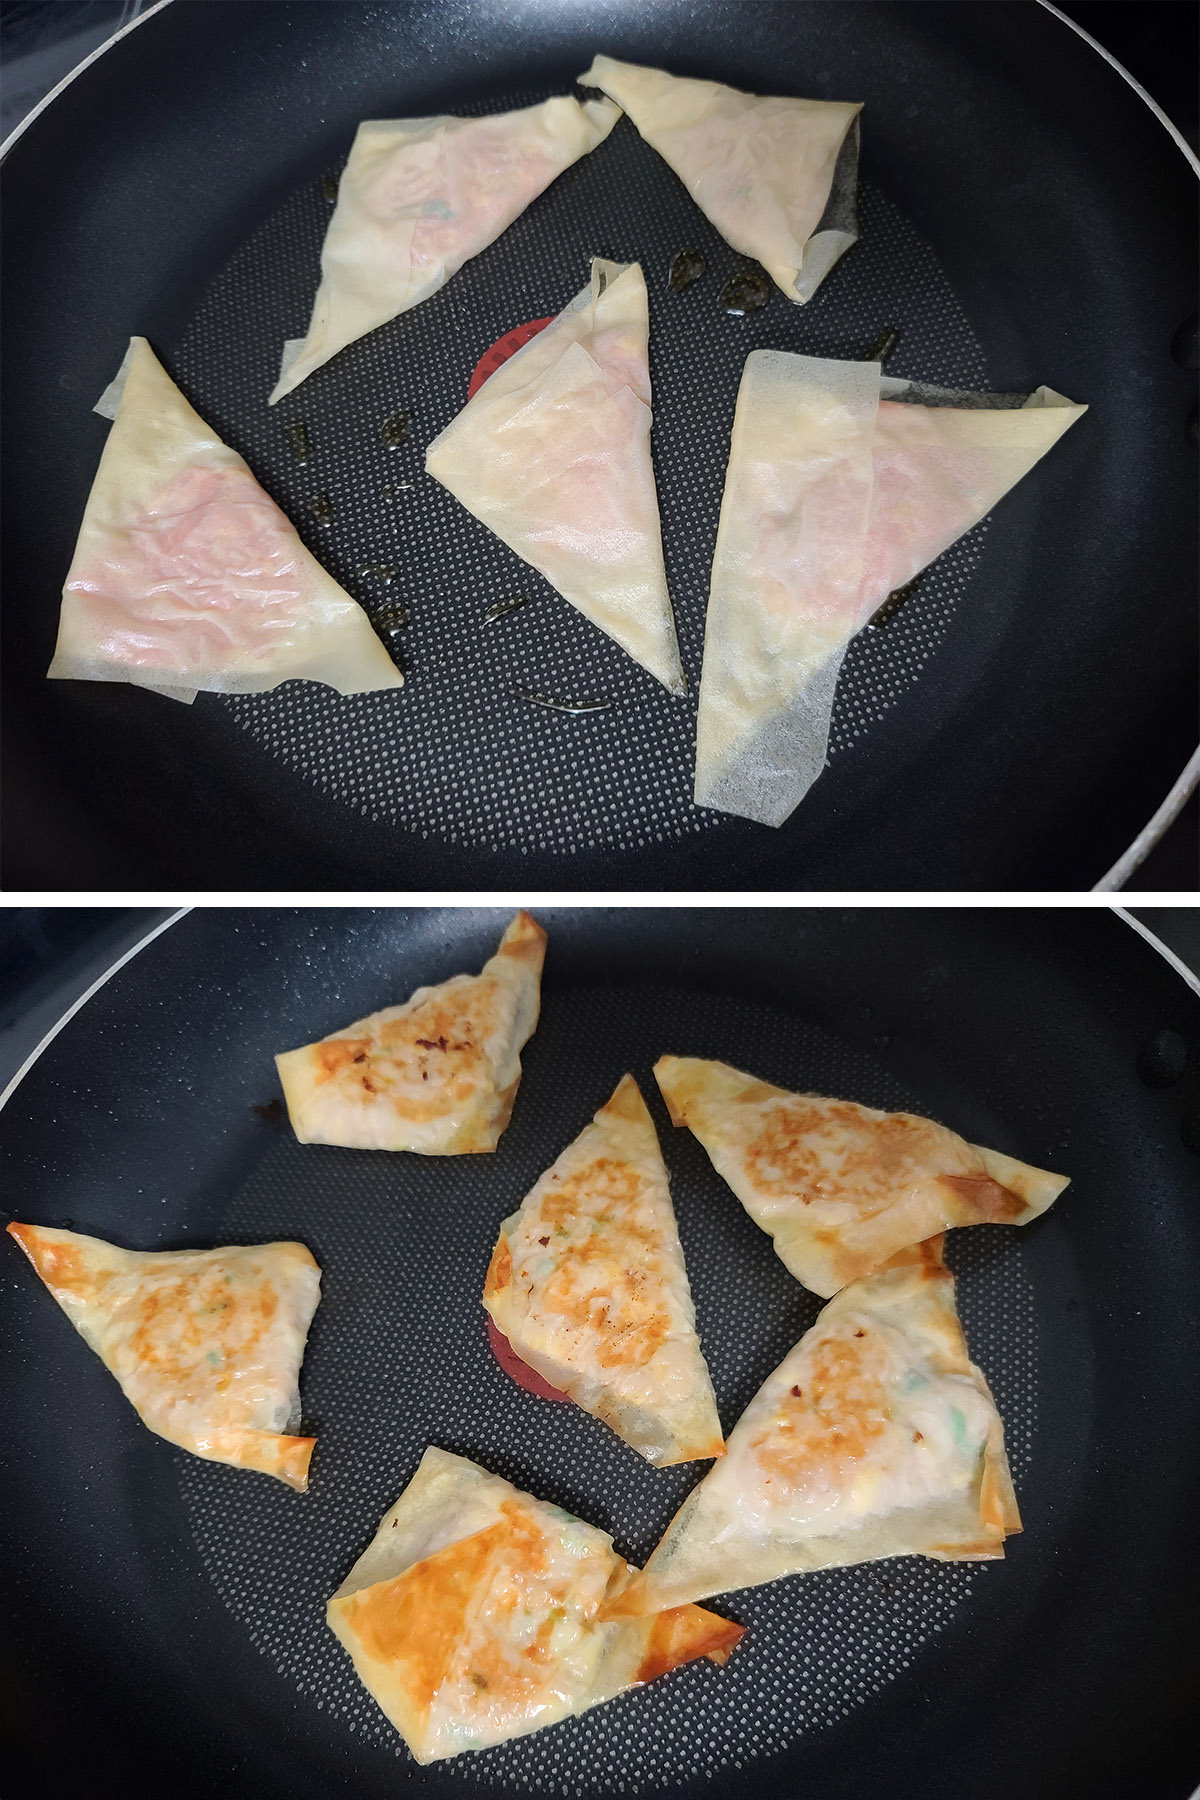
As a note: You do want to cook these on a very low temp, as the wrappers can burn before the filling cooks. One step up from low works best on our stovetop.
Air Frying Keto Gyoza
While I love my air fryer, it did NOT work as well for this recipe.
It cooked them through, and - when cooked at 300F for just a few minutes - it didn't scorch the edges TOO badly... but the pan-fried gyoza turned out much better overall.
About the Soy Wrappers
Before working up this gyoza recipe, the only times we ever used soy wrappers were for those sushi parties, where we'd buy this 5 pack of Assorted Soy Wrappers - each pack had one each of 5 different colours of soy sheet, so it made a fun offering at the party.
It goes a lot further when making sushi, though, so this option - while fun - was a bit more expensive than I wanted for this recipe. Feel free to use them if you'd like, though - just note that the carb counts vary based on flavour!
You can buy packs of individual flavours of soy wrappers at a better price, though. They come in a bunch of options, like:
.... And you can use any of the options you'd like, just keep an eye on the nutritional label to make sure your choice meets your needs.
Anyway, when it came down to it, though, we just went with a 20 pack of Original Flavour Soy Wrappers
How to Make Keto Gyoza
Full recipe follows at the end of this post, but here's the pictorial walk-through.
Make the Filling:
In a large mixing bowl, combine cabbage and salt, stirring to evenly distribute the salt. Allow to sit for 10-15 minutes – this will draw the moisture out of the cabbage.
Once time is up, squeeze as much water out of the cabbage as you can, discarding the water. Place the squeezed cabbage back into the mixing bowl.
Add all remaining ingredients – aside from the wrappers and oil – to the bowl, and mix thoroughly. I like to use my hands for this – does a much better job of distributing everything than any mixing spoon will!
Cover and chill until ready to use.
Assemble the Potstickers:
Cut soy wrappers in half, lengthwise. Clean kitchen scissors works best for this - I like to fold them in half to get a sharp line to follow.
Brush or spritz both sides of a soy strip with water, lay on a work surface in front of you.
Place a heaping teaspoon worth of filling on the short edge of the soy wrapper facing you.
Wrap it up, flag style: fold the short edge over the filing, meeting up with the long edge forming a triangle end.
Fold that piece up, then over, and so forth, until the end of the soy paper. Tuck remaining edge under, press firmly to seal.
Press lightly to distribute the filling throughout the triangle, forming a relatively flat dumpling.
If soy paper dries as you work, spritz or brush with more water, to help it stick to itself.
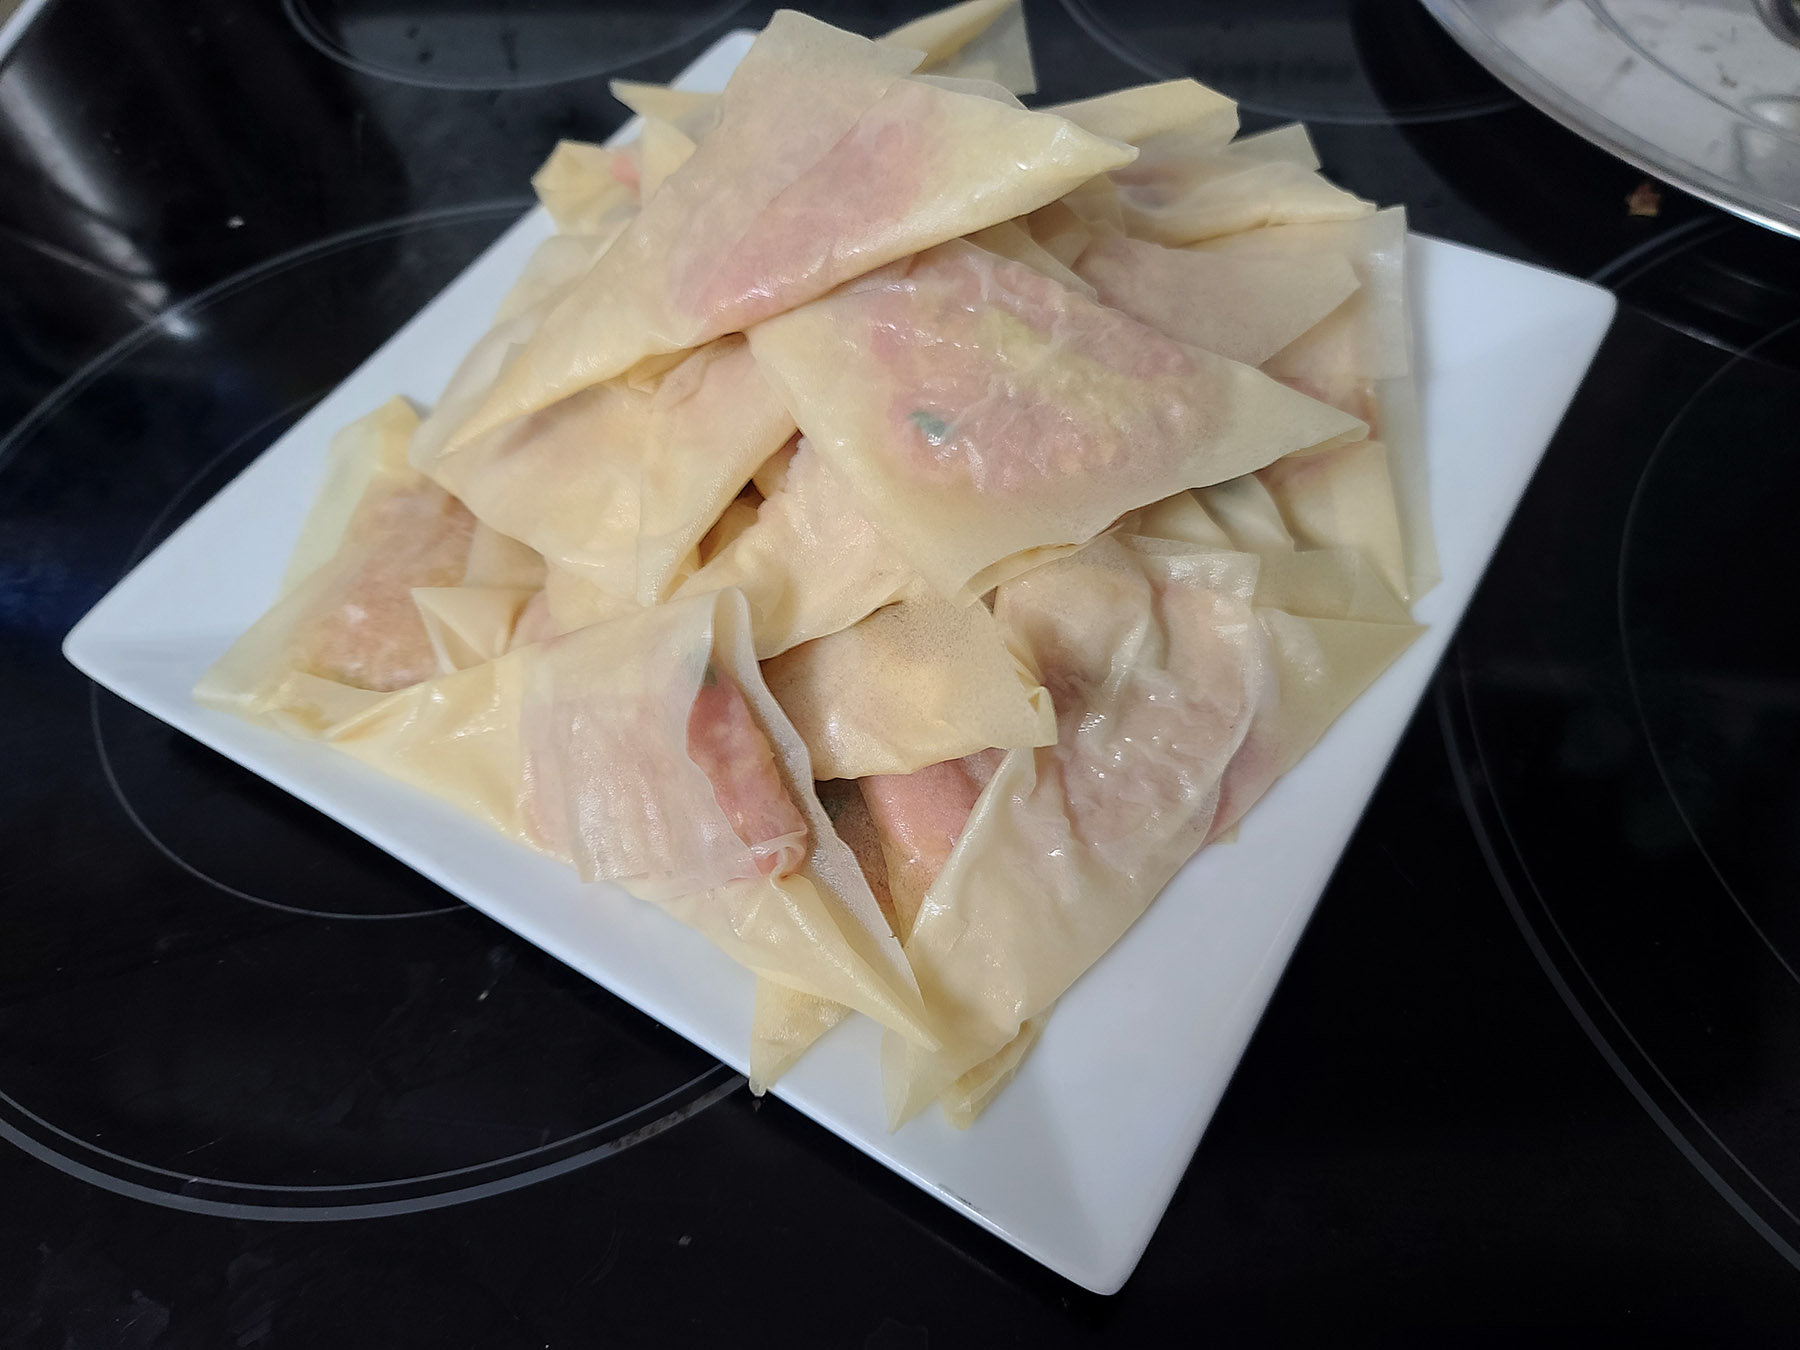
Set the assembled dumpling aside, repeat with the remaining filling and soy strips.
Cooking the Gyoza:
Heat up 1 tablespoon vegetable, olive, or sesame oil in a frying pan – I prefer to use nonstick for this – on a low to medium-low setting.
Arrange a single layer of gyoza in the pan – not touching each other - and cook until nicely browned. Flip over, and continue cooking over low heat until browned on the other side.
Cut one open and check to make sure they’re cooked all the way through. If not, cook for another minute or two on each side.
Repeat with remaining potstickers.
Serve hot, with Gyoza sauce.
Gyoza Sauce
¼ cup Soy Sauce
2 tablespoon Vinegar
½ teaspoon Crushed Chilies
Mix ingredients together, cover and chill until ready to use.
More International Keto Recipes
Looking to add some international flavour to your menu? Try some of these low-carb versions of my favourites!
Keto Cabbage Rolls
Keto Chicken Biryani
Low Carb Chicken Korma
Keto Doro Wat
Keto Jamaican Beef Patties
Keto Manakish
Easy Keto Ramen Recipe
Keto Orange Chicken
Keto Pad Thai
Keto Perogies
Keto Sauerkraut Buns
Keto Sushi Rice
Keto Fried Cauliflower Rice
Low Carb Shanghai Noodles
Low Carb Vietnamese Noodle Salad
Paleo Stuffed Grape Leaves
Sugar Free Furikake Seasoning
Easy Keto Butter Chicken
... also, be sure to check out our International Keto Recipes for even more options!
Share the Love!
Before you chow down, be sure to take some pics of your handiwork! If you post it to Bluesky, be sure to tag us - @CelebrationGen. We're also on Pinterest, so you can save all your favourite recipes to a board!
Also, be sure to subscribe to my free email newsletter, so you never miss out on any of my nonsense.
Well, the published nonsense, anyway!
Keto Gyoza
Equipment
- Nonstick Pan
Ingredients
Filling:
- 2 cups Finely shredded Napa cabbage
- 1 teaspoon Salt
- 1 lb Ground chicken
- 1 tablespoon Freshly Grated Ginger
- 2 Garlic Cloves pressed or minced
- 1 Green Onion finely chopped
- 2 teaspoon Sesame Oil
- ½ teaspoon Salt
- ¼ teaspoon Crushed Chilies
- Pinch Sugar substtute
Assembly:
Instructions
Filling:
- In a large mixing bowl, combine cabbage and 1 teaspoon salt, stirring to evenly distribute the salt. Allow to sit for 10-15 minutes – this will draw the moisture out of the cabbage.
- Once time is up, squeeze as much water out of the cabbage as you can, discarding the water. Place the squeezed cabbage back into the mixing bowl.
- Add all remaining ingredients – aside from the wrappers and oil – to the bowl, and mix thoroughly. I like to use my hands for this – does a much better job of distributing everything than any mixing spoon will!
- Cover and chill until ready to use.
To Assemble:
- Cut soy wrappers in half, lengthwise.
- Brush or spritz both sides of a soy strip with water, lay on a work surface in front of you.
- Place a heaping teaspoon worth of filling on the short edge of soy wrapper facing you.
- Wrap it up, flag style: fold the short edge over the filing, meeting up with the long edge forming a triangle end.
- Fold that piece up, then over, and so forth, until the end of the soy paper. Tuck remaining edge under, press firmly to seal.
- Press lightly to distribute the filling throughout the triangle, forming a relatively flat dumpling.
- If soy paper dries as you work, spritz or brush with more water, to help it stick to itself.
- Set assembled dumpling aside, repeat with remaining filling and soy strips.
Cooking the Gyoza:
- Heat up 1 tablespoon vegetable, olive, or sesame oil in a frying pan – I prefer to use nonstick for this – on a low to medium-low setting.
- Arrange a single layer of gyoza in the pan – not touching each other - and cook until nicely browned. Flip over, and continue cooking over low heat until browned on the other side.
- Cut one open and check to make sure they’re cooked all the way through. If not, cook for another minute or two on each side.
- Repeat with remaining potstickers.
- Serve hot, with Gyoza sauce.











Leave a Reply