
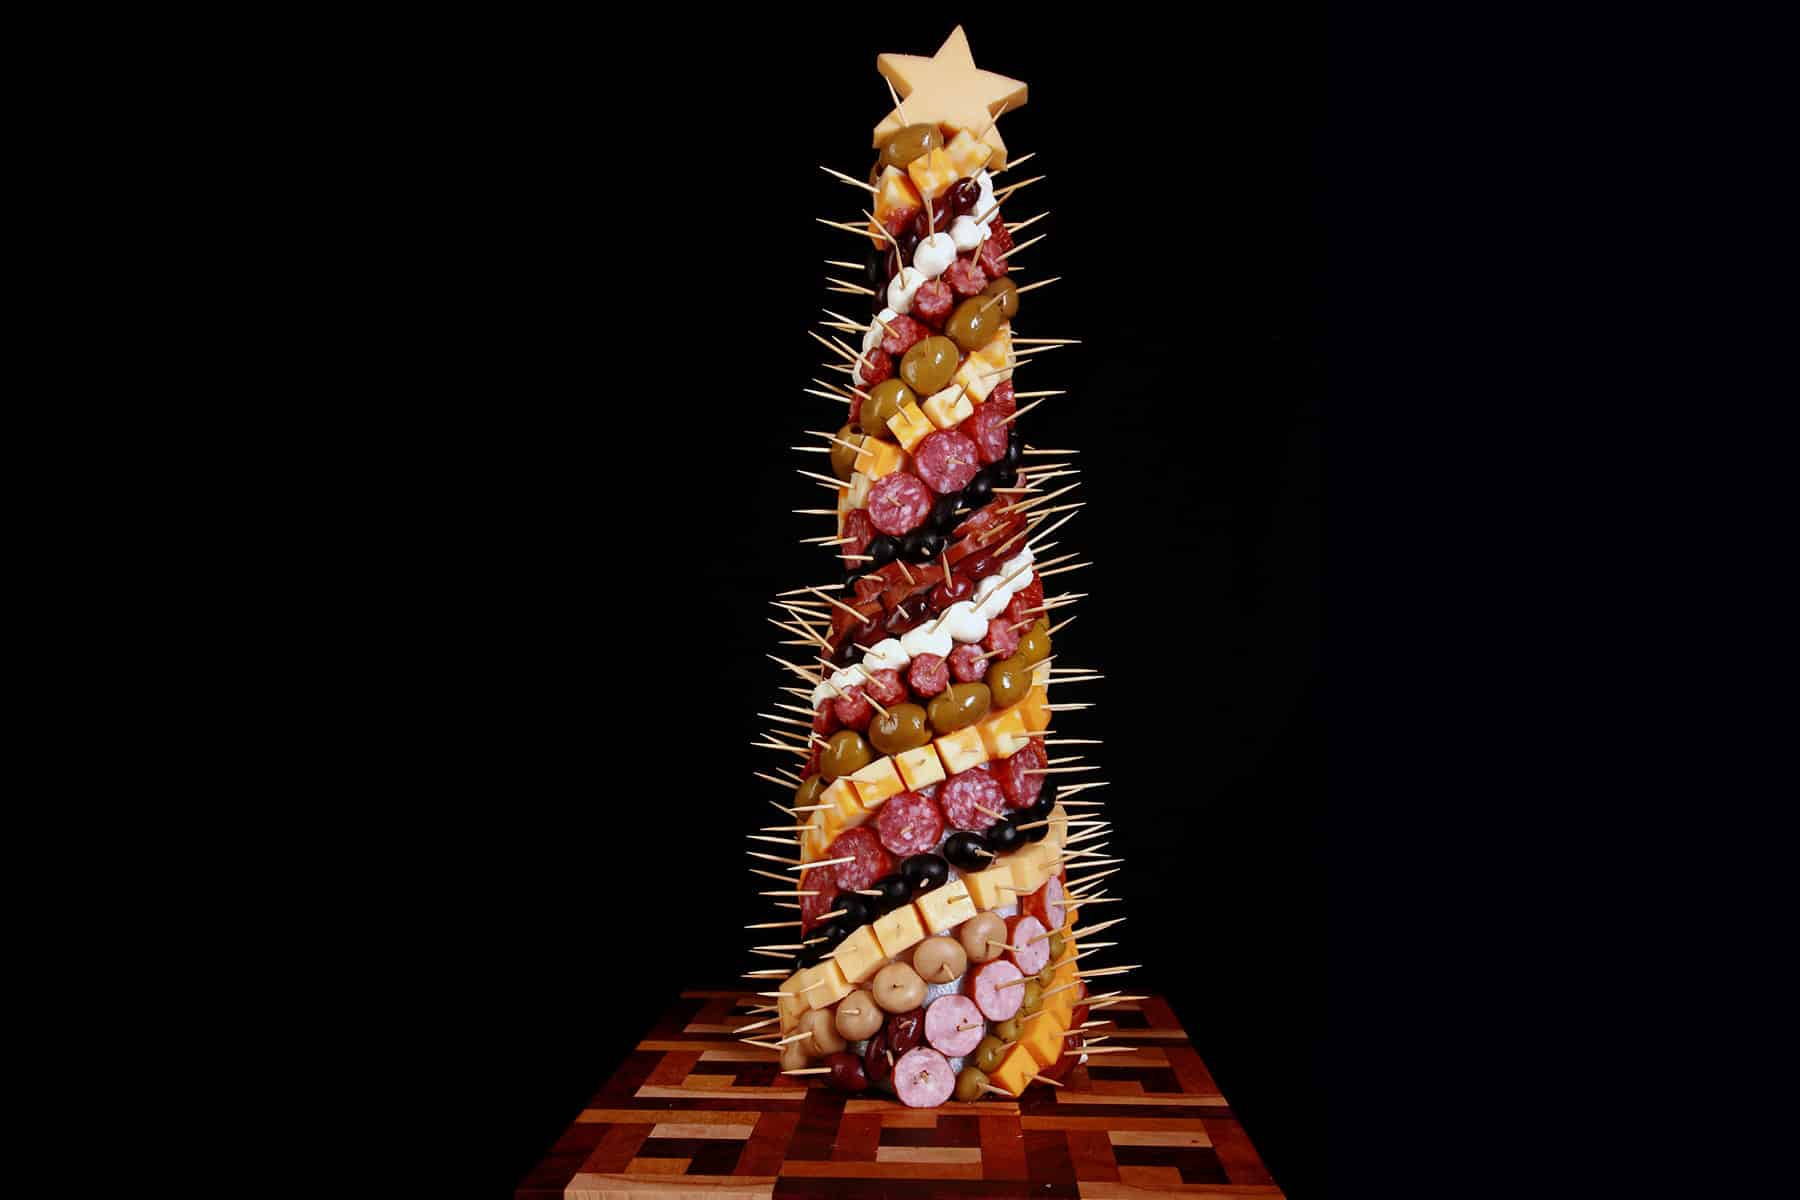
This festive charcuterie tree is easy to make and fun to serve at holiday gatherings. A traditional charcuterie spread - just vertical, in Christmas tree shape!

All those sweet treats! AUGH!
Throwing a Christmas charcuterie board - or even just a cheese tray at all! - into the mix is a festive way to be inclusive of those watching carbs, while also making everyone else happy.
After all, who doesn’t love cheese?
This holiday season, consider joining the charcuterie craze - if you haven’t already.
Or - I’m sorry for this ! - a charcutertree.
Awful puns aside, this is a great appetizer to make for your holiday party!
It takes only a little more effort and planning than a Christmas tree charcuterie board, and it’s just a really impressive addition to a holiday spread.
Your guests - keto or not! - will love it!
Ingredients
What ends up on your shopping list for this will depend wildly on your tastes, budget, and what’s available in your area.
You can generally find the makings of a great spread at any grocery store ... but your favorite ingredients are definitely going to shape the final product.
Pro Tip: Buy more than you think you'll need. You can always snack on the extras, if there are any!
Here are some general guidelines that I tend to go with:
Meats
I like to go with sausage - style cured meats.
On a very basic, accessible level, think kiebasa, pepperettes / pepperoni sticks, etc.
I like to get a variety of meats - 2-4 types of meat, depending on how big of a tree I’m doing, how much effort I want to put in, and what my budget is looking like.
Ideally, I look to vary the sausages - lighter / darker colours, some a little softer, some more aged, and different diameters.
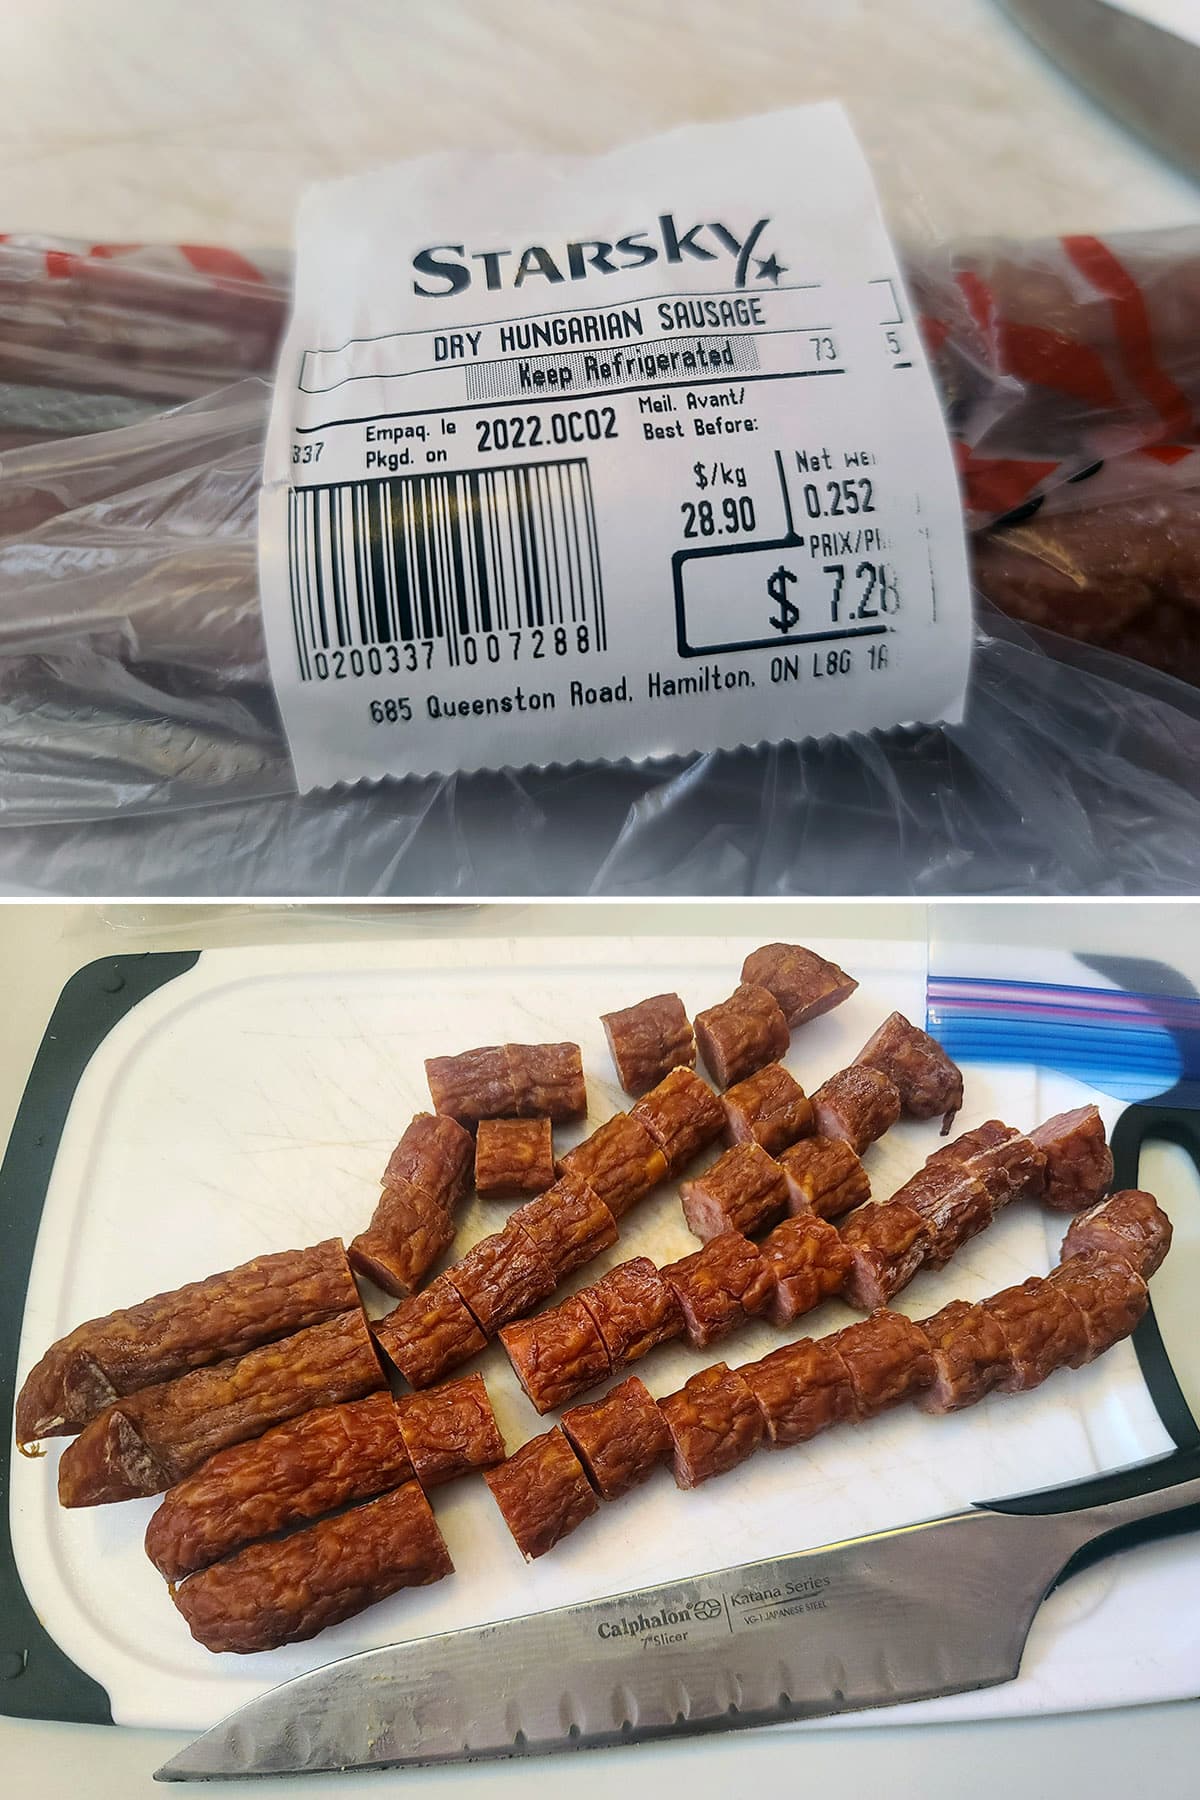
My favourite meats for charcuterie Christmas trees all come from a local Eastern European grocery store - Starsky - which is a straight up WONDERLAND.
Cheeses
I like to use a few different types of cheese, generally 3 types of block cheese, plus mini bocconcini (tiny mozzarella balls).
For the block cheeses, I like to pick one each from 3 different categories:
1: A white / light coloured cheese. This can be a white cheddar, gouda, Monterray Jack, etc.
2. An orange cheese. This will usually be a sharp cheddar cheese.
3. A cheese with a LITTLE visual interest. Marble Jack is a good default for this category, but can also be a cheese with something in it, like a cumin seed gouda (my favourite!), or a Jalapeno Jack.
I like to keep it relatively neutral-ish, nothing too weird or anything that would clash with the other ingredients.
It needs to be firm enough to stay on a stick, so no Brie, soft goat cheese, etc. (Though you can serve those cheeses on the board!)
At the same time, it needs to be soft enough to be able to handle the toothpick.
Aged cheeses can be hit and miss for this, and tend to be likely to crumble or shatter. I love a good, old, crystally gouda, but it would never hold up to being staked to styrofoam!
It may not be worth the effort for putting ON the tree, but - again - there’s the board also!

Olives & Pickled Items
I like to have 2-3 different types of olives on hand: Pitted Kalamata Olives, Pitted Large Black Olives, and some form of Jumbo Stuffed Green Olives.
While I didn’t use them this time around, sometimes I’ve used other pickled items, like:
Cocktail Onions
Cornichons
Marinated Mushrooms.
Pepperoncini
Really, just go with whatever you like - as long as it’s sturdy enough to rest on a toothpick!
Extras
Aside from the main ingredients that make up the bulk of the charcuterie, consider the board / around the bottom of the tree, and garnish.
Sprigs of rosemary look great tucked in among the cheeses and meats on the tree itself, or lead on the board. Having a few fresh cranberries next to the rosemary is a pretty, seasonal touch.
A small ramekin - or a few - of mustard, pretzel sticks, sliced almond bits, etc is always a nice touch.
If you want to add some veggies, cherry tomatoes or mini cucumber slices work well!

Equipment and Supplies
You’ll need some basic supplies to make your charcuterie Christmas tree, here are some details:
Styrofoam Cone
This is an important element, as it is what will create the base structure and shape of a Christmas tree.
You want to use actual styrofoam (white) cone, rather than ‘wet’ / fresh floral foam (green). There is another kind of floral foam that is green but basically styrofoam - that’s ok to use.
Just don’t use the kind that you’re supposed to soak for fresh flower usage.
You can generally find foam cones in larger craft stores - in the floral section - especially around the holidays.
I like to buy extra when I can find them, as sometimes - at certain times of year- they can be harder to come by. I like to be ready to whip up a meaty topiary when I feel the urge to, you know? 😀
This is a good size when you’re serving 10 or more people, and want to make tall trees.
I’ve also made a smaller one at times - 11-12" tall, just under 4" across the base. This size is good for when you’re serving a smaller number of people, or making a secondary, small tree.
Sometimes I’ll make a tall tree with just cheese and meat, and make a smaller tree on the side that’s just olives, or olives and pickled items.
Wrap
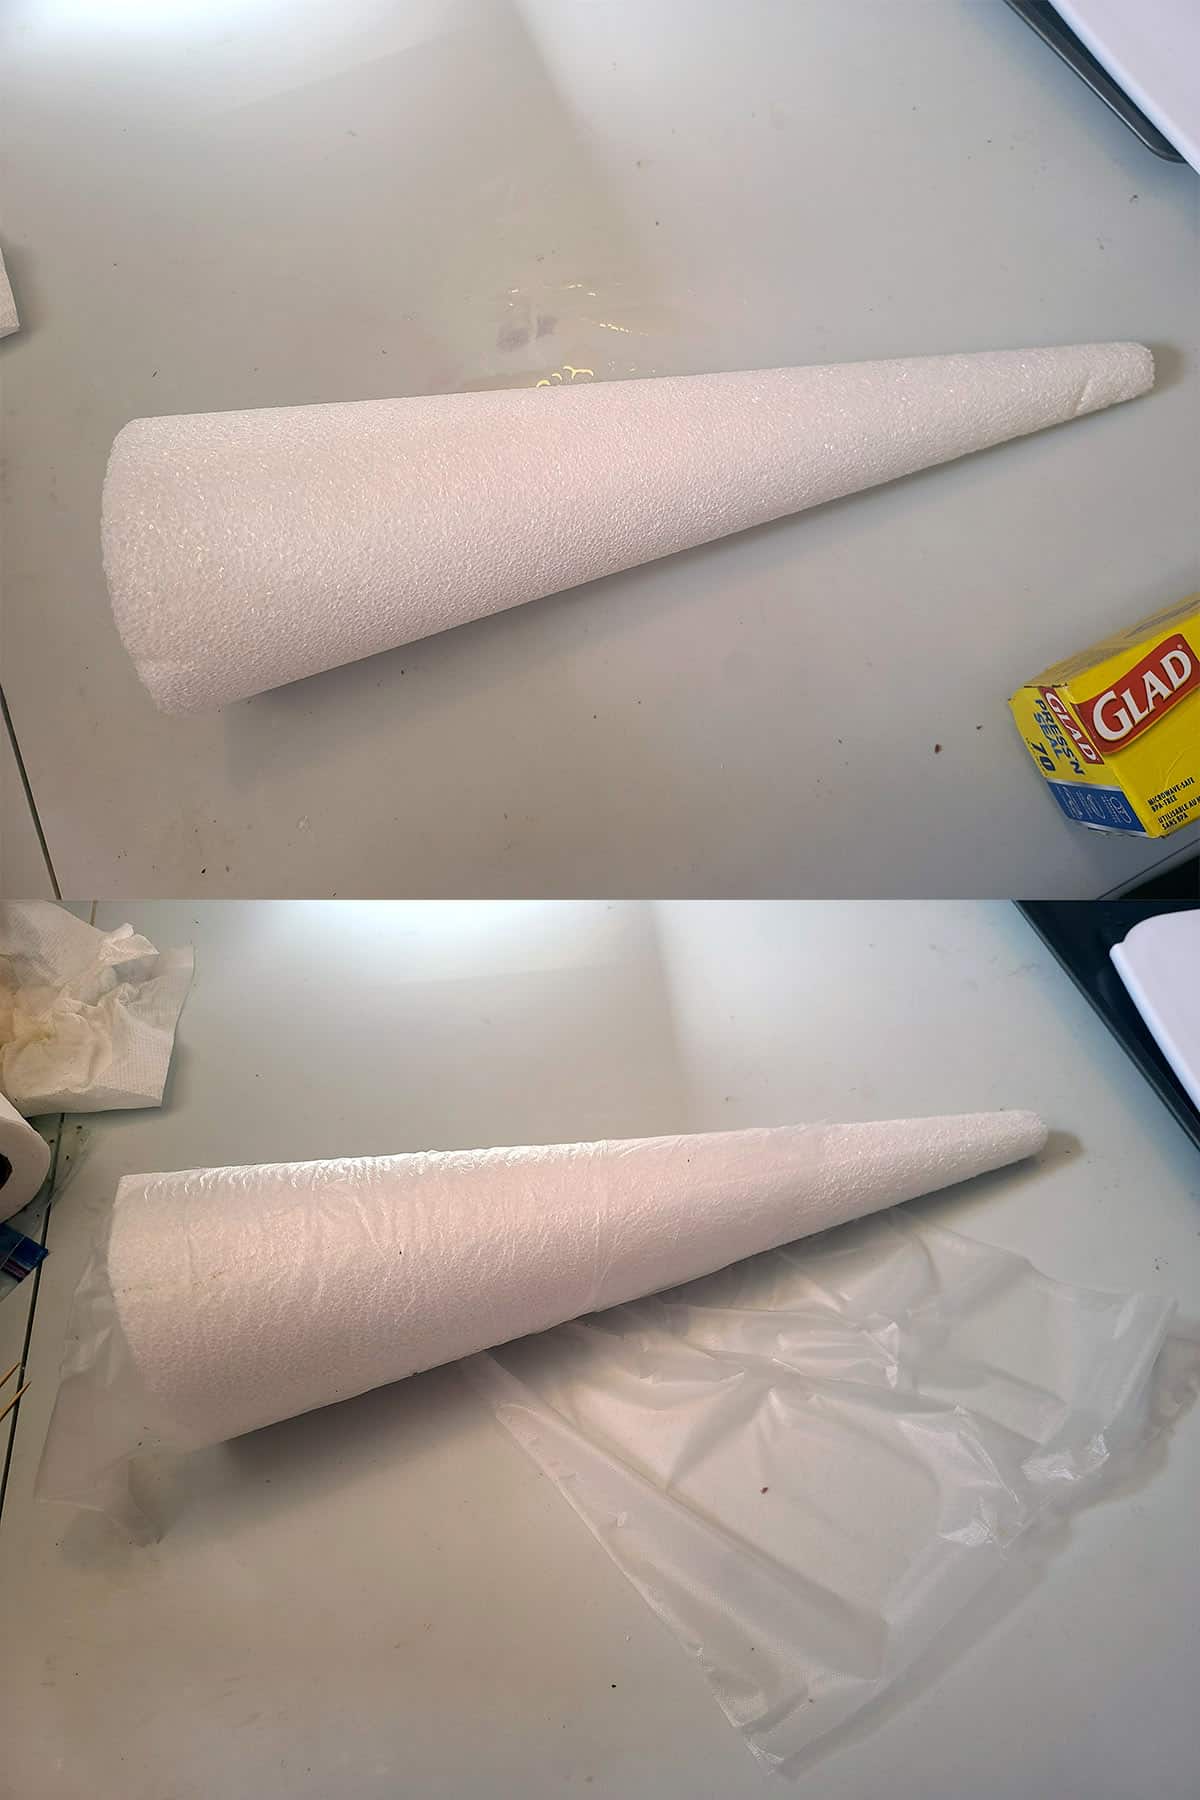
You’ll want to wrap your foam cone, to keep bits of foam out of your food.
Plastic wrap works, I like to use Glad Press N'Seal, as it sticks to itself better than regular plastic wrap.
Sometimes you can find a Green Cling Wrap, or Green Food Safe Cellophane.
Either of those options will look a bit better, as the food is taken off the tree.
In a pinch, you can even use aluminum foil to cover your foam base.
Serving Board
You’ll want a fairly big board to build your charcuter-tree on.
I like to use a big wood bread board or cutting board.
In these pictures, the wood board we used was a Homemade Cutting Board that I designed - that's a tutorial for it!
It’s nice to use a pretty platter if you can, but definitely consider functionality first.
You need it to be the base diameter of your foam cone, plus 2x the length of your toothpicks as a bare minimum.
Then consider what’s going on the platter - will you be surrounding the base of your tree with crackers, veggies, softer cheeses, sauces, etc, or will those all be on separate plates?
Star Shape Cookie Cutter
This one’s optional, but nice to have.
I like to make a cheese star for the top of the tree, and a star cookie cutter is an easy way to do that.
Of course, I couldn’t find mine when making this particular tree to blog, so I had to freehand cut it with a sharp knife.
Toothpicks
Be sure to have a TON of Toothpickss on hand - more than you think you’ll need, for sure. I’d be nervous to try this with any less than 200 on hand.
You can use the fancier, Frill Toothpicks if you like. Personally, I think all the floof distracts from the food itself, for the quantity of toothpicks being used, here.
The more basic Bamboo Toothpicks have a more neutral look and sort of blend in better, IMHO.
If you want a middle ground, Loop Knot Bamboo Toothpicks are a neutral colour, but a nicer design.
Miscellaneous
Finally, consider serving needs.
If you’re going to have some softer cheeses on the board, it’s a good idea to have some cheese knives on hand.
Mini ramekins are nice to have if you’re going to serve mustards, relishes, etc alongside your holiday charcuterie board. I like to use 2 oz Ceramic Ramekins for this.
A little bowl for used toothpicks is always nice, if there isn’t a really convenient garbage can nearby.

How to Make a Charcuterie Tree
There’s a recipe card at the end of this post - to satisfy the Google overlords - but all you really need are these step-by-step instructions:
Prepare Your Ingredients
Drain the brine from all of your olives and other pickled items, if applicable.
Cut your cheeses into bite sized pieces - I usually aim for relatively uniform cubes.
Prepare your meats. I tend to stick to sausage type meats, slicing into rounds. If one has a larger diameter, I’ll slice those particular rounds in half.

See “Food Safety” advice further down in the post for advice on handling your ingredients.
Prepare your Styrofoam Form
Remove any packaging or stickers from your styrofoam cone.
Carefully wrap the entire cone in plastic wrap or food safe cellophane. Make sure that none of the actual styrofoam is exposed, even on the bottom.

Set your wrapped styrofoam on your charcuterie plate - we like to use a large rectangular platter.
If you want to give it a bit of stick to hold it in place, spread some melted cream cheese on the bottom of the wrapped cone - it’ll act as glue.

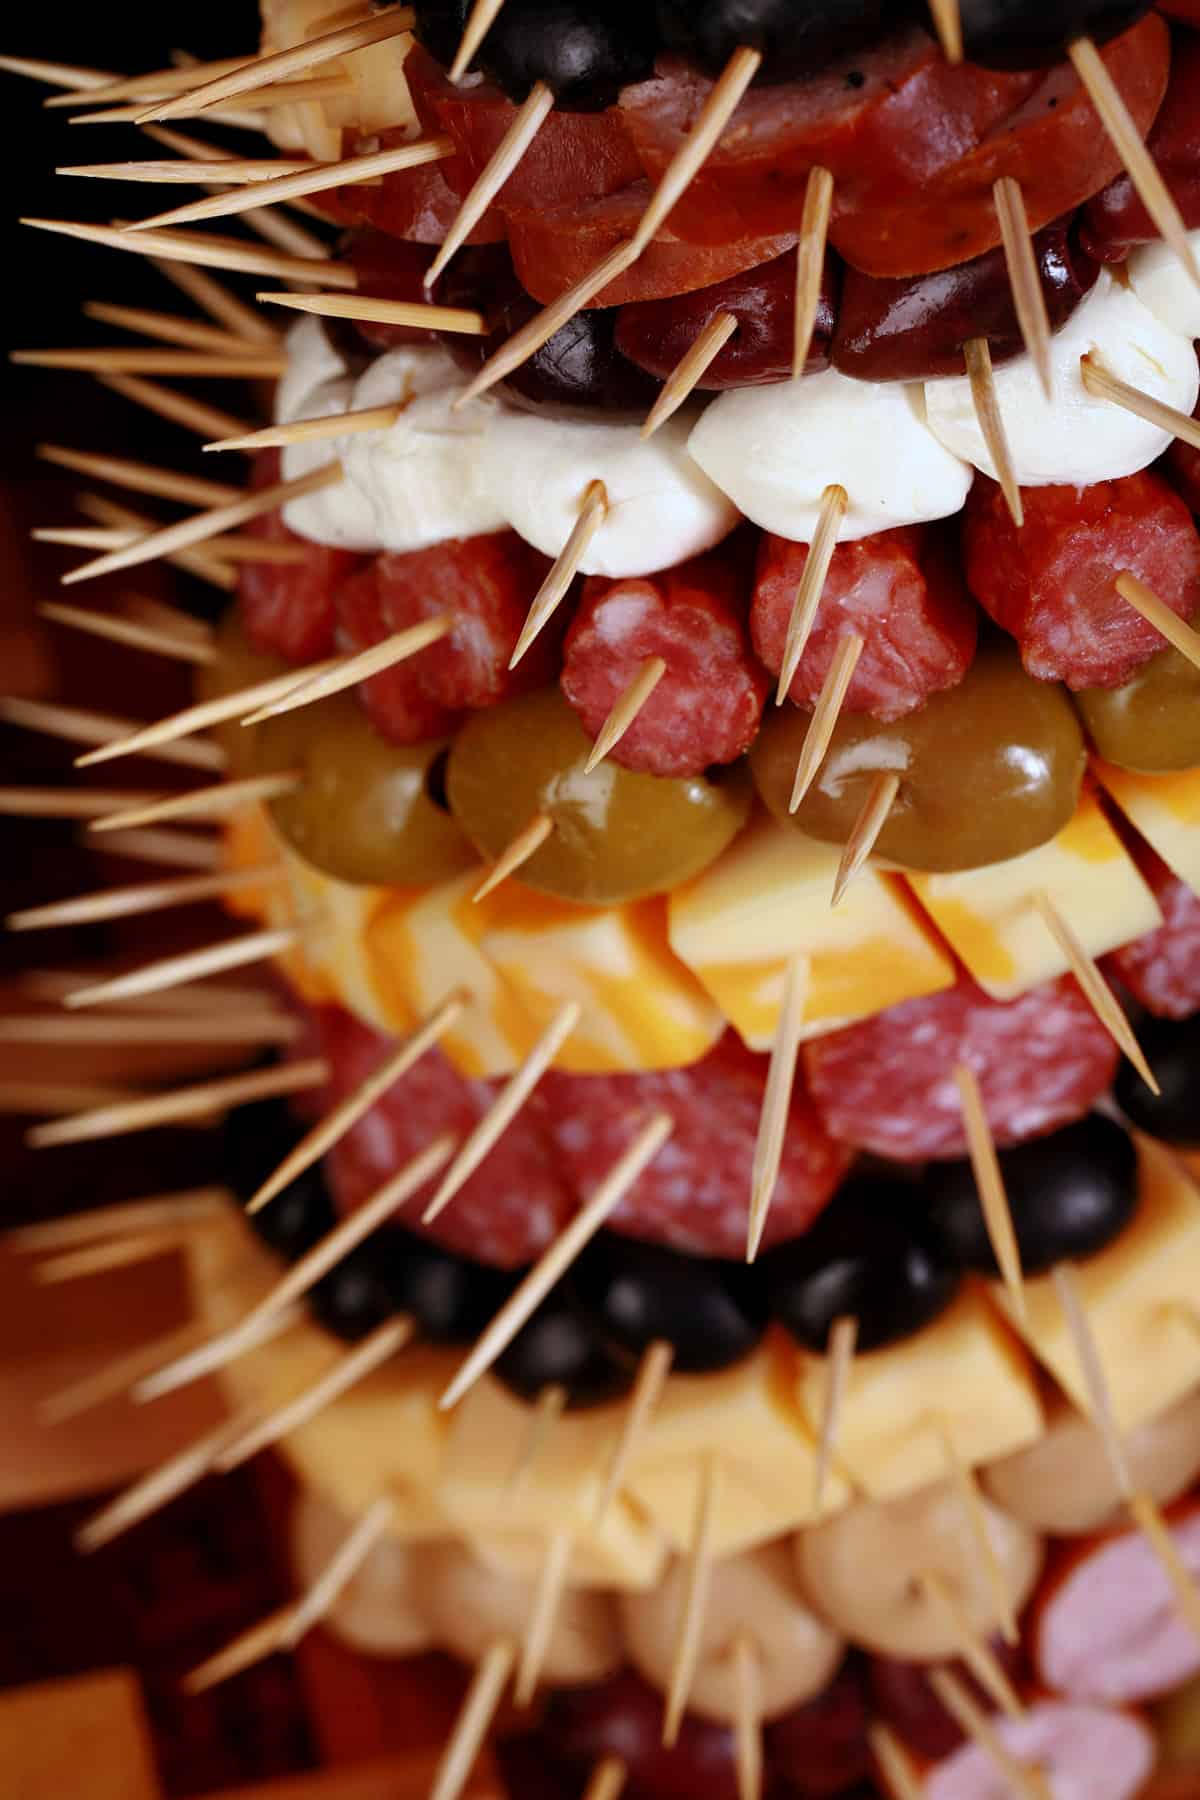
Assemble your Christmas Tree Charcuterie
Spread your ingredients out on baking sheets, and stick a toothpick through each piece.
I like to stick the toothpicks in so that they’re through the entire piece, but NOT hanging out on the other side.

It’s easiest to start from the bottom and work your way up.

If you’re doing spirals - I like to - I find it easiest to do a bottom ring, then pick a “starter” item, and set a spiral of that one item, all the way up the tree.

As you get further away from the starter spiral, you’re going to have to end some lines of ingredients early, merge with other lines, and fill in odd areas as you go.
I’ll usually end up cutting cheese cubes into triangles, or some meat pieces into weird shapes to fill in odd areas.
Don’t worry, no one will notice!

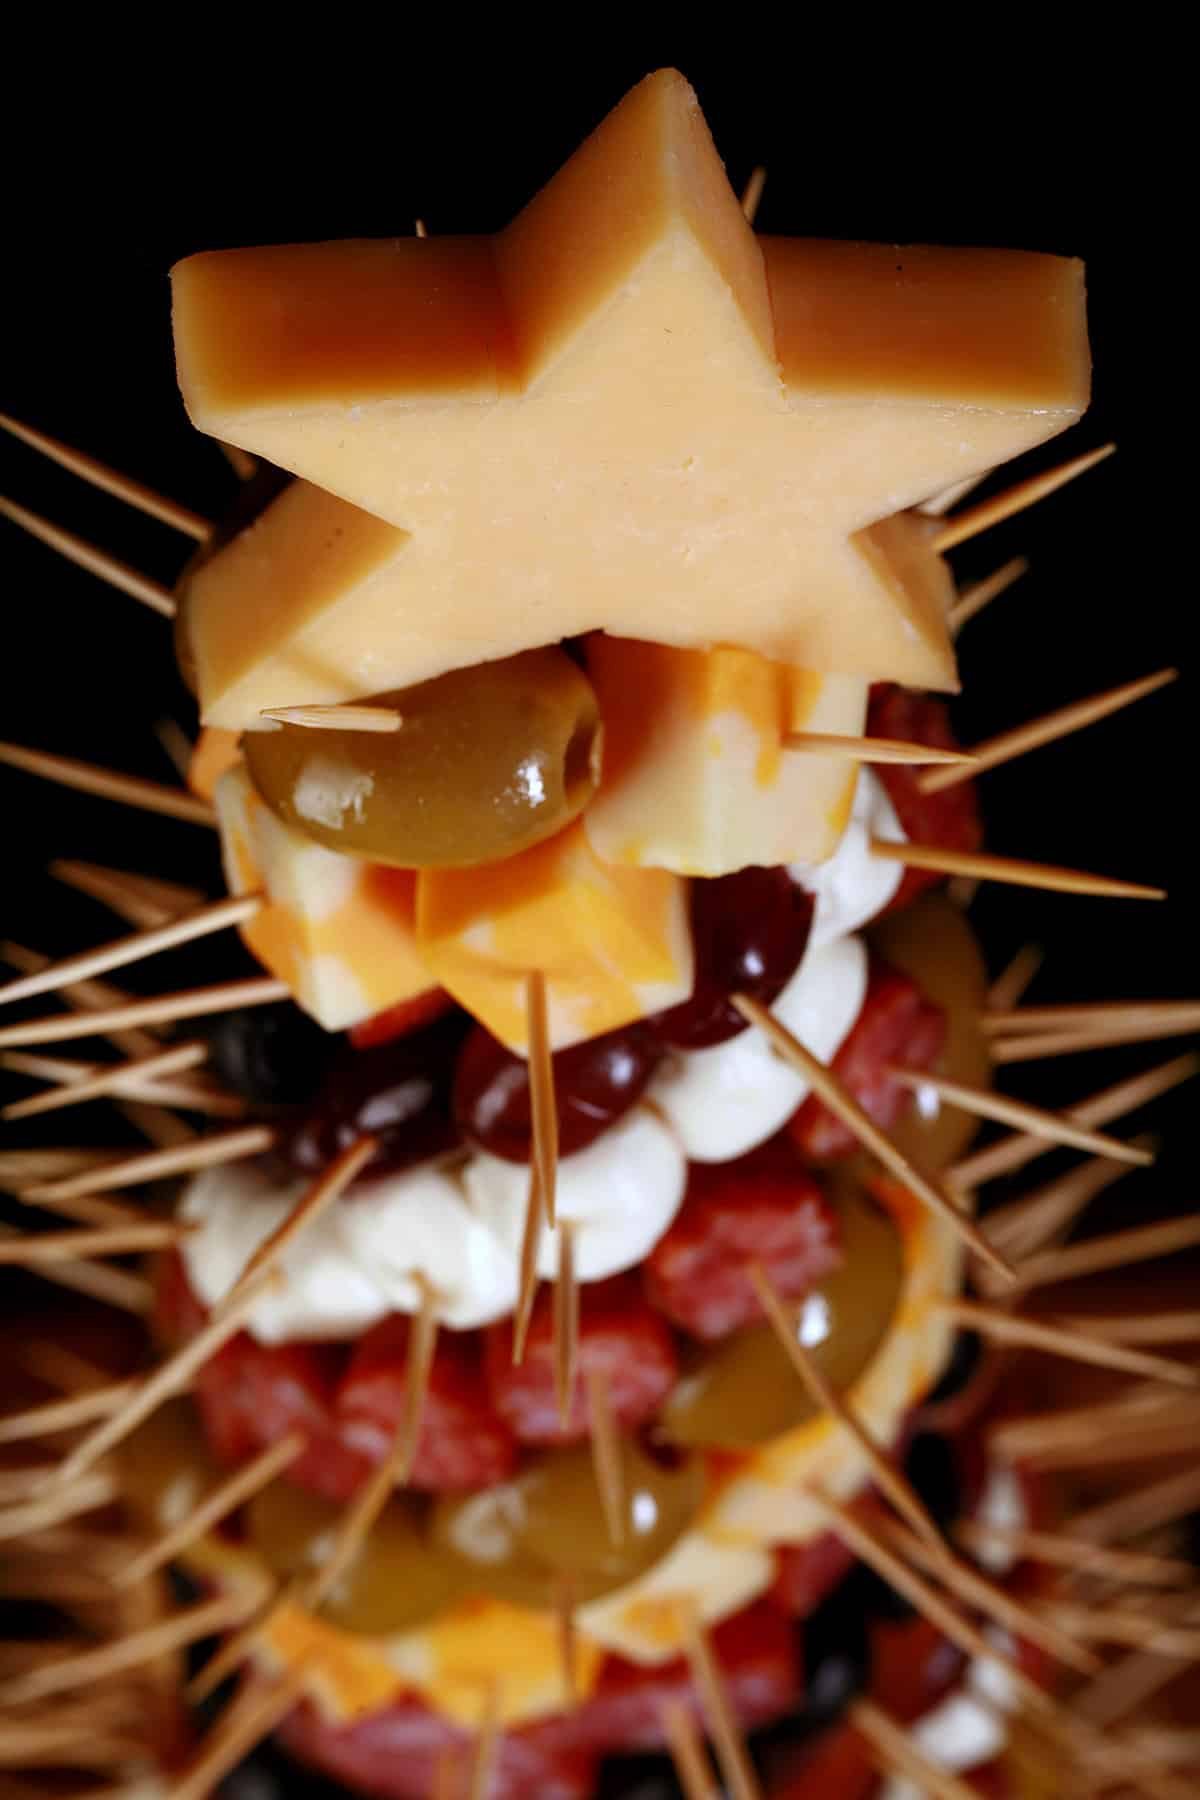
As you get to the top of the charcuterie tree, start building it upwards, leaving only a small section at the very top open.
Top the Tree
Cut a thick slice of cheese or meat, and use a cookie cutter or a sharp knife to cut a star shape from it.

If you’re not serving it immediately, wrap with plastic wrap and store in the fridge until you’re ready to serve it.

Tips and Tricks
Food Safety
Because this festive appetizer is something generally served at Christmas parties, you’re going to want to observe some basic food hygiene principles.
Wash your hands, always work with a clean work surface, tools, and trays.
Wearing nitrile gloves is a good idea. Change them if they get potentially contaminated (if you touch your hair, go to the washroom, take a break to dote on a pet, etc!).
Make sure that whatever you’re covering your styrofoam with is food safe.
That being the case, you’re definitely going to want to keep an eye on the total time that perishable items are held at room temperature.
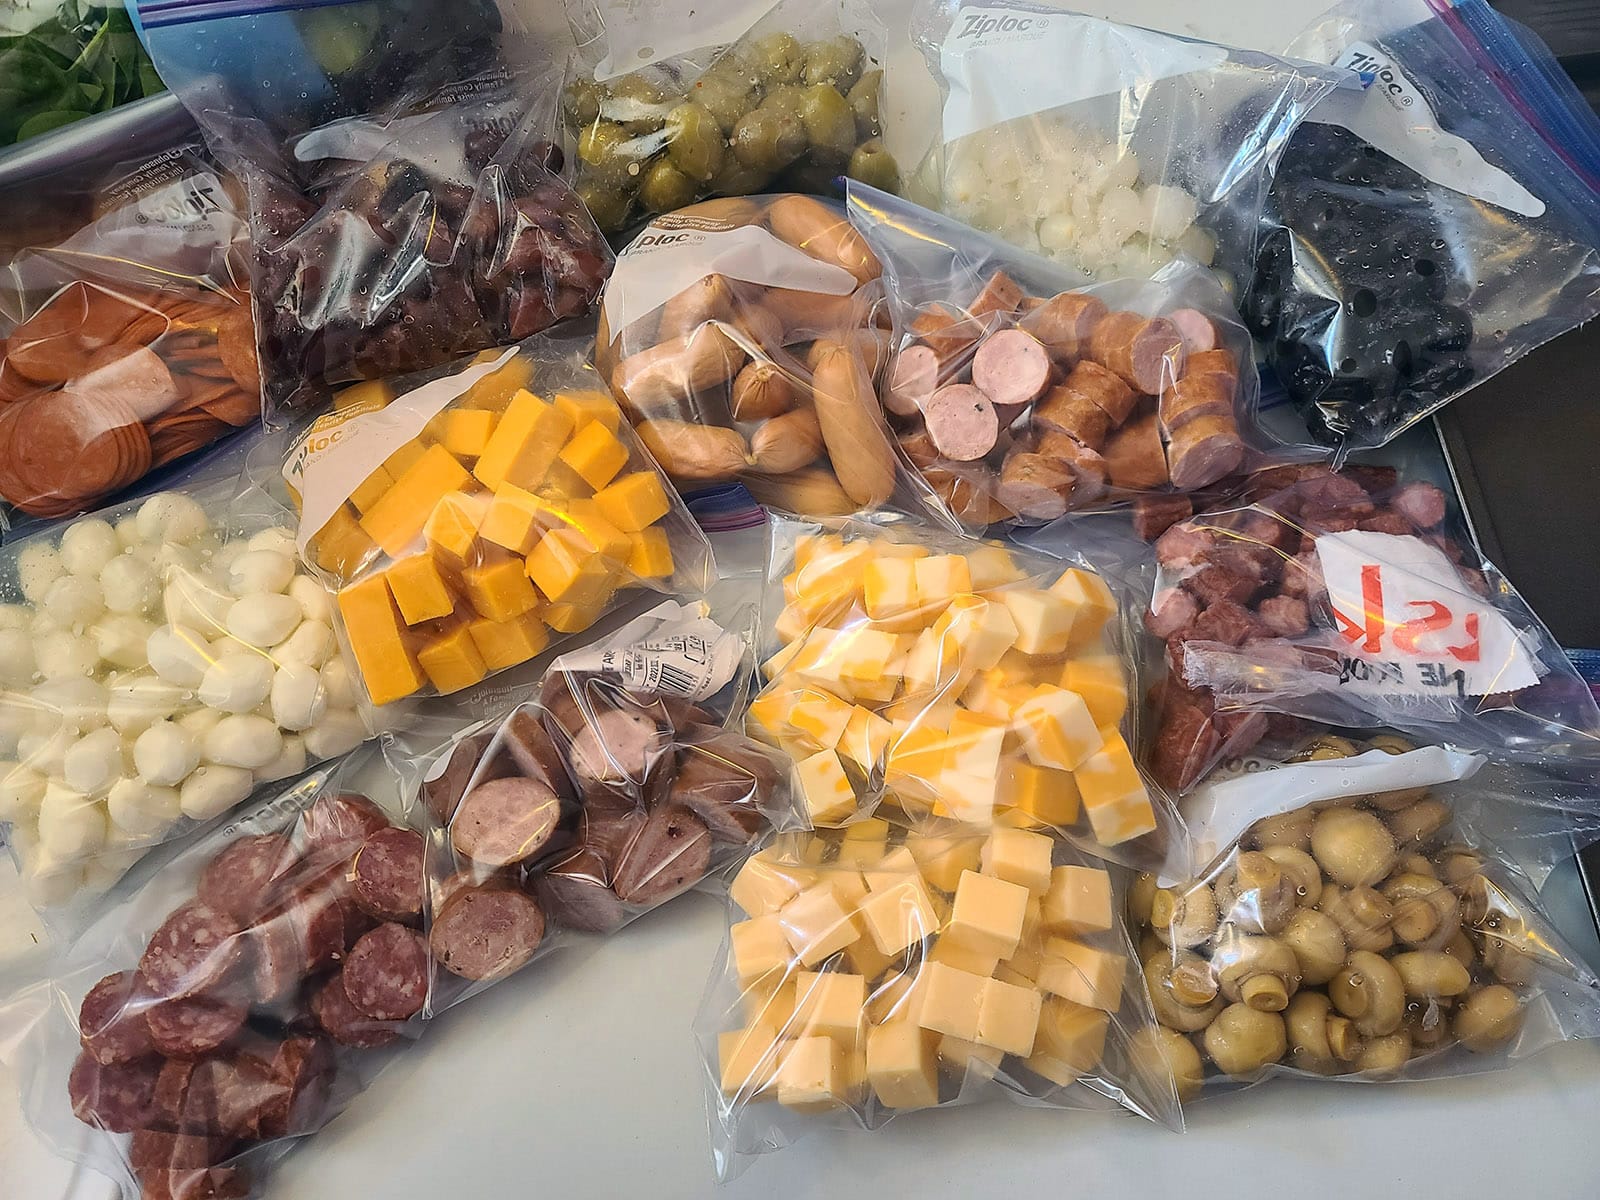
I recommend prepping one ingredient at a time - so cutting one brick of cheese up, draining and sticking 1 bottle of olives, etc - before putting them in an airtight container and returning them to the fridge.
The less time that these food items spend out of the fridge during the preparation, the better the safe longevity of the piece when serving it.

Timing
The first step of prep work - draining, slicing, chopping, sticking with toothpicks - can be done ahead of time, even the day before.
I’ll usually drain olives / pickles first, transferring them to individual plastic baggies for storage.
Then, I’ll deal with the meats - again, one variety at a time. These will get sliced or chopped, then stored in baggies or Tupperware in the fridge.
Finally, the cheeses. I do them last, just because the meats handle air exposure better than cheeses. These usually get chopped into cubes and stored in baggies, one type of cheese per bag.
When I’m ready to assemble, I just bring all of the baggies out to my work area.
If you want to assemble yours early, I recommend spritzing it lightly with water, then wrapping the whole tree in plastic wrap. Store it in the fridge until you’re ready to serve it.
In batches, stick your items with toothpicks, cover and chill until all of the items are stuck. Then, assemble the tree
Working very quickly, stick each food item as you’re affixing it to the styrofoam.
As long as you’re working quickly and not letting things stay at room temperature too long, you can go either way, whichever works for you!
Cleanup
Due to the nature of some of the items involved, I like to prepare my area, for easier cleanup later.
I like to cover my work surface with parchment paper, to catch any drips and prevent any possible staining.
Also, it’s a good idea to have a roll of paper towels - or a clean, dry dish towel - on hand.
This can help both with mopping up your work surface, and keeping your hands relatively dry as you work.
More Low Carb Holiday Recipes
Looking for some low carb or keto options to serve at the holidays? Here are some super tasty Christmas recipes and other holiday treats for you!
Bacon Wrapped Halloween Mummy Meatloaf
Candy Cane Cookies
Cream Cheese Mints
Easter Deviled Eggs
Eggnog
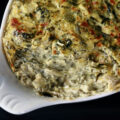
Funeral Potatoes
Gingerbread Cookies
Gingerbread Pancakes
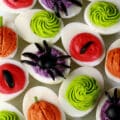
Halloween Deviled Eggs
Holiday Desserts
Holiday Main Dishes
Holiday Side Dishes
Paska [Ukrainian Easter Bread]
Pumpkin Pie Fat Bombs
Sauerkraut Buns
Stuffing
Turkey Meatballs with Cranberry Glaze
Witch Finger Cookies

Share the Love!
Before you chow down, be sure to take some pics of your handiwork! If you post it to Bluesky, be sure to tag us - @CelebrationGen. We're also on Pinterest, so you can save all your favourite recipes to a board!
Also, be sure to subscribe to my free email newsletter, so you never miss out on any of my nonsense. Well, the published nonsense, anyway!
... and hey, if you love the recipe, please consider leaving a star rating and comment! (Sharing the post on social media is always appreciated, too!)


Charcuterie Christmas Tree
Equipment
- Styrofoam Cone
- Plastic Wrap Or food safe cellophane
- Serving Board
- Sharp Knife
- Toothpicks
Ingredients
- 2 lbs Cheese of choice
- 2 lbs Sausages of choice
- 1 lb Olives
Instructions
Prepare Your Ingredients
- Drain the brine from all of your olives and other pickled items, if applicable.
- Cut your cheeses into bite sized pieces - I usually aim for relatively uniform cubes.
- Prepare your meats. I tend to stick to sausage type meats, slicing into rounds. If one has a larger diameter, I’ll slice those particular rounds in half.
- If you’re using any fresh produce, wash and prepare those items as necessary.
- See “Food Safety” advice in the post for advice on handling your ingredients.
Prepare your Styrofoam Form
- Remove any packaging or stickers from your styrofoam cone.
- Carefully wrap the entire cone in plastic wrap or food safe cellophane. Make sure that none of the actual styrofoam is exposed, even on the bottom.
- On that note, make sure the bottom is covered thinly and evenly - you want it to be stable!
- Set your wrapped styrofoam on your charcuterie plate.
- If you want to give it a bit of stick to hold it in place, spread some melted cream cheese on the bottom of the wrapped cone - it’ll act as glue.
Assemble Your Charcuterie Tree
- Spread your ingredients out on baking sheets, and stick a toothpick through each piece.
- I like to stick the toothpicks in so that they’re through the entire piece, but NOT hanging out on the other side.
- Piece by piece, stick your ingredients to the tree, pressing the toothpick in only far enough to secure it - you want a fair amount of toothpick *out*, so it’s easy for guests to pull each piece out!
- It’s easiest to start from the bottom and work your way up.
- If you’re doing spirals - I like to - I find it easiest to do a bottom ring, then pick a “starter” item, and set a spiral of that one item, all the way up the tree.
- I’ll work out from there, adding rows of ingredients on either side of that spiral. Try to keep your ingredients butted up close to each other, not allowing styrofoam to show through.
- As you get further away from the starter spiral, you’re going to have to end some lines of ingredients early, merge with other lines, and fill in odd areas as you go.
- Don’t worry, no one will notice!
- As you get to the top of the charcuterie tree, start building it upwards, leaving only a small section at the very top open.
Top the Tree
- Cut a thick slice of cheese or meat, and use a cookie cutter or a sharp knife to cut a star shape from it.
- Affix the star to the top of the tree with one last toothpick - I put it in from the bottom of the star, hiding the toothpick entirely.
- If you’re not serving it immediately, wrap with plastic wrap and store in the fridge until you’re ready to serve it.
Notes
Nutrition


I haven't tried this - but it looks awesome! I can't wait to try it and wow our family at Thanksgiving. Thanks for posting (and creating this).
I made this a few days ago. It was a showstopper. Thank you for the inspo!